You spot dark leak marks where the deck meets the wall, and the stain keeps coming back after rain. It looks small, but it sits in the worst possible spot.
Those marks can come from bad flashing, missing drip edges, trapped water behind the ledger, or runoff hitting the same seam every storm. In Japan, long wet seasons and high humidity can turn a small leak into wall rot fast.
In this guide, you’ll learn 5 checks to stop deck flashing leaks and protect the wall before the damage spreads. You’ll also learn what a good drip edge and tape overlap should look like in real life.
Hi, I’m Ken — I’m Japanese, and I live in Malaysia long-term, so I explain everyday life in Japan from a practical ‘from abroad’ perspective.
I hold a building design qualification and I’ve been on site for 20+ years across hundreds of jobs. I turn Japan’s unspoken rules into simple checks, so you can avoid costly mistakes and take the next step with clear actions that feel safe.
1. Deck flashing leak marks: 5 checks to stop wall rot
Leak marks mean water is getting behind the wall layer
Start by reading the stain like a map—water leaves clues in lines, not dots. Check the seam where the deck ledger meets the wall, and look above it for drip sources like gutters, drip lines, or window edges. Japanese walls often rely on a drainage plane behind cladding, so once water gets behind it, it can linger and feed rot. cost is mostly time/effort, because the first win is finding the path.
- Trace stains upward to find the entry point
- Press siding gently to feel soft spots
- Check caulk cracks where wall meets deck
- Look for rust streaks from metal connectors
- Inspect the ledger top edge for gaps
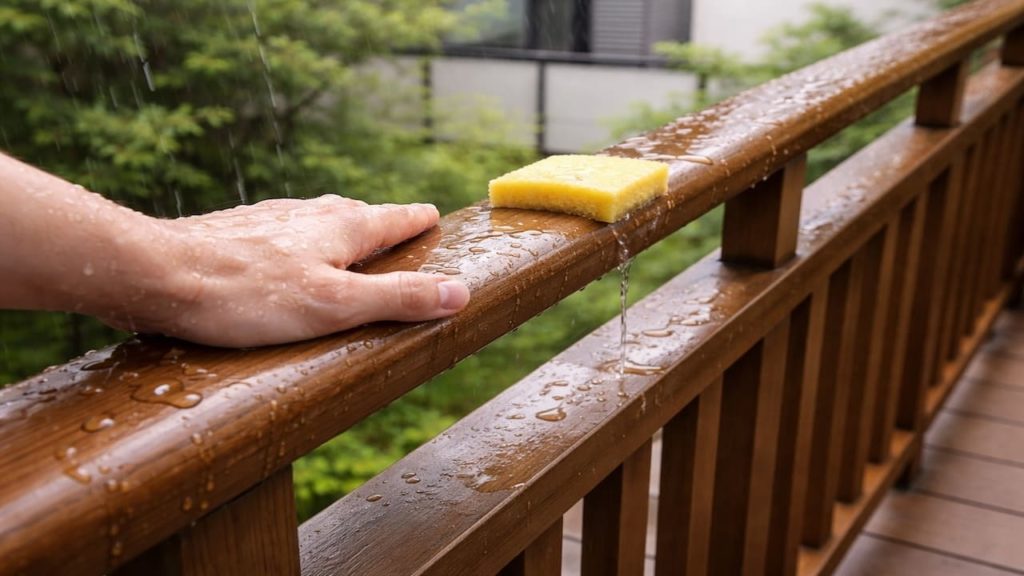
You might think it is just surface dirt and you can wash it off. If the mark returns after the next rain, it is not dirt, it is a repeat leak. Treat it like a water path problem, not a cleaning problem.
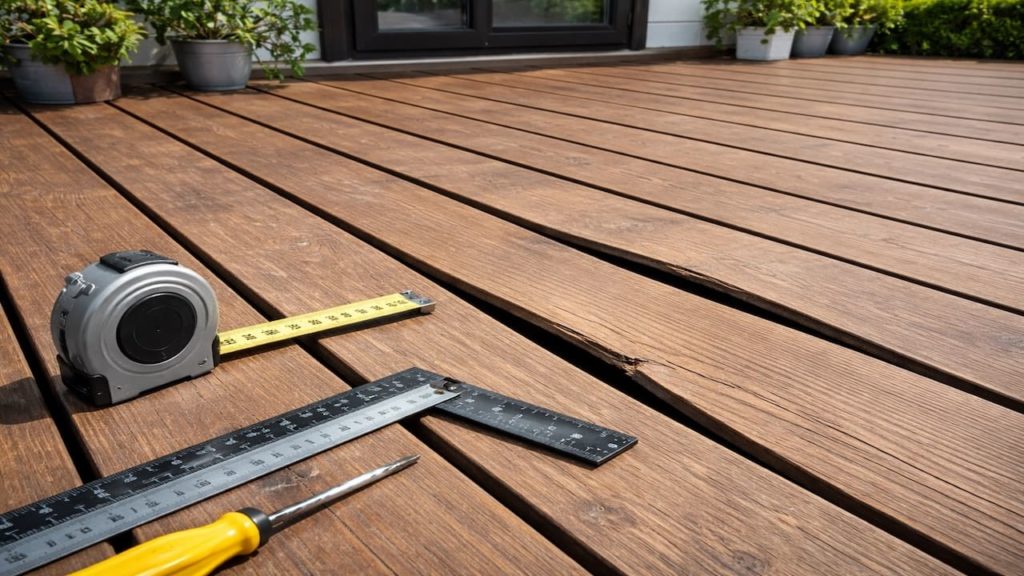
2. Drip edge tape
Drip edge plus flashing tape should push water out and away
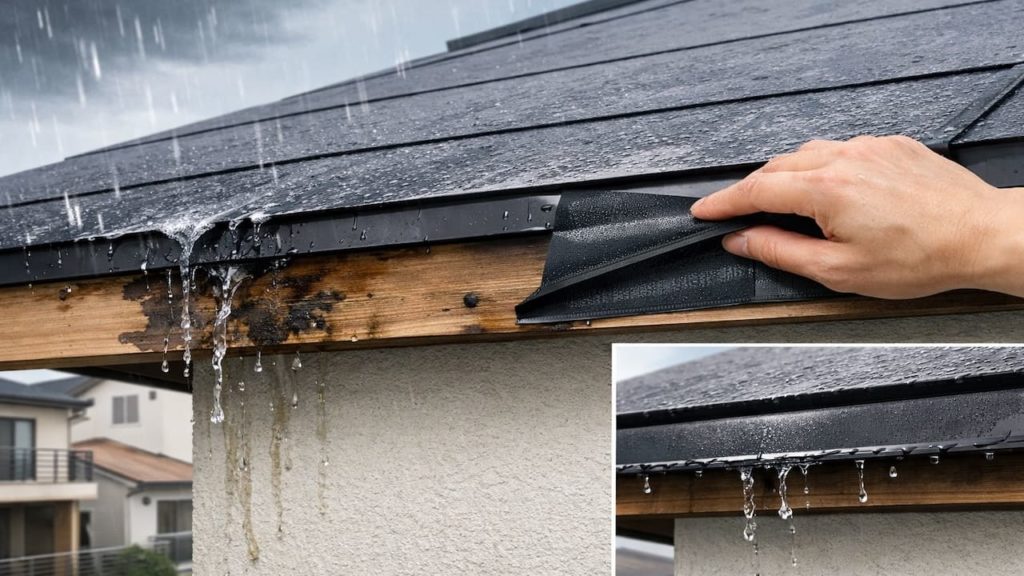
The goal is simple: water hits the wall, reaches the flashing, then gets kicked outward so it cannot run back behind the ledger—clean separation. A drip edge lip and properly lapped tape help create that break, especially where fasteners pierce the system. Building guidance shows the flashing needs to integrate with the wall drainage plane, not fight it. According to buildingscience.com.
- Check flashing extends behind the wall layer
- Look for tape laps shingled top over bottom
- Confirm drip edge creates an outward water break
- Inspect tape for wrinkles fishmouths and holes
- Check fastener holes for seal around heads
If you need supplies like flashing tape and a small drip cap, plan around ¥1,000–4,000 for basic materials depending on width and brand. You might want to slap tape over everything and call it sealed, but bad overlaps can trap water and make rot faster. The tape needs to shed, not sponge.
3. Why leak marks lead to wall rot at the deck line
The deck to wall joint is a rot hotspot because it stays wet
Water loves the ledger zone because it has horizontal surfaces, screw holes, and tight seams that dry slowly. If flashing is missing or reversed, water runs behind the ledger and sits against wood and sheathing. In Japan, humid air can keep that cavity damp even when rain stops, so damage keeps cooking in the dark. cost is mostly time/effort, because you can diagnose a lot with careful inspection.
- Trapped water sits on top of the ledger
- Fastener holes act like tiny funnels inside
- Cladding gaps let runoff enter behind the plane
- Wet sheathing loses strength and crumbles over time
- Repeated wet cycles feed mold and decay risk
You might blame the deck boards or the stain color for making marks obvious. The real issue is what is happening behind the wall surface. Fix the flashing logic and the marks usually stop returning.
4. How to stop leaks and protect the wall before repairs explode
Make the assembly shed water in layers not in one seal
Start by removing only what you must to see the joint, then rebuild the water shedding sequence from top to bottom—wall layer to flashing to drip edge to deck face. If the ledger connection lacks proper flashing, many building codes require corrosion resistant flashing at that joint to prevent moisture entry. According to International Code Council.
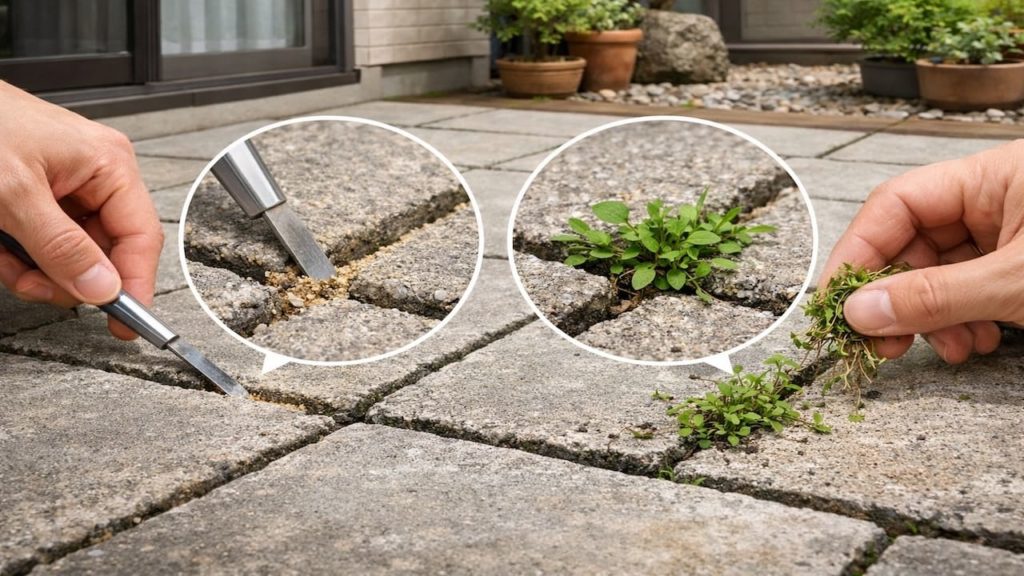
- Clear debris so water can drain freely
- Verify flashing tucks behind the wall layer
- Install tape with proper shingle style overlaps
- Add a drip edge to force water outward
- Recheck after rain with a controlled hose test
You might want to rely on caulk as the main defense. Caulk is a detail tool, not the drainage system, and it fails first when wood moves. If the wall feels soft or the stain spreads, stop patching and open the area enough to rebuild the flashing sequence.
5. FAQs
Q1. Are leak marks always from flashing failure?
Not always, because runoff from gutters or windows can hit the same seam and look like a flashing leak. Trace the stain upward first and confirm the entry point before you tear anything apart.
Q2. Can I just repaint the wall to hide the stains?
You can, but if water is still entering, the marks will come back and the wall can rot behind fresh paint. Fix the water path first, then refinish.
Q3. Should I remove siding to check the ledger area?
If the wall feels soft, smells damp, or stains keep spreading, removing a small section can be the right move. If everything feels solid, start with outside inspection and a careful hose test.
Q4. Is flashing tape alone enough?
Tape helps, but it works best as part of a layered system with a proper drip edge and correct overlaps. One layer alone can fail if water gets behind it.
Q5. What is the fastest sign of real rot?
If you can press and the surface gives, or fasteners feel loose and crumbly around holes, treat it seriously. That is when repairs shift from “detail fix” to “wall repair.”
Pro's Tough Talk
I’ve spent 20+ years working around Japanese homes, so I’ve seen what tends to work—and what tends to go wrong—in everyday use. Leak marks at the deck line are not cosmetic, they are the wall waving a red flag. Water is a patient bully, it shows up every storm and keeps punching the same spot.
Here’s the cold breakdown: the joint is flat, full of holes, and easy to trap water behind. You are not dumb and the builder is not always a villain, this is just a detail that gets rushed because nobody wants to fuss with flashing. But physics does not care about your schedule, and rot does not need permission. Slow damage.
Mark the stain line right now. Do the hose test today. Rebuild the overlaps this weekend.
Layer the shedding path and force water outward and you stop the rot before it starts eating structure. If the wall feels soft or the stain spreads after you fix the flashing, the next step is opening the area and repairing the damaged wood.
This leak is like a drip coffee maker that never shuts off, it just keeps feeding the mess. Dude, really? You know that moment you wipe the stain, feel proud, then the next rain brings it back like a ghost. Or when you lean on the wall near the deck and suddenly wonder if the wall is leaning back.
Summary
Leak marks at the deck line usually mean water is getting behind the wall layer and staying there. Start by tracing the stain, checking the ledger seam, and confirming how runoff reaches that joint.
Fix the problem by restoring a layered shedding sequence with correct overlaps, flashing placement, and a drip edge that kicks water away. If stains return or the wall feels soft, upgrade from patching to opening and repair.
Do the stain trace and hose test today so you stop guessing and start fixing the real path. Once the joint sheds water correctly, you can refinish the surface and move on.