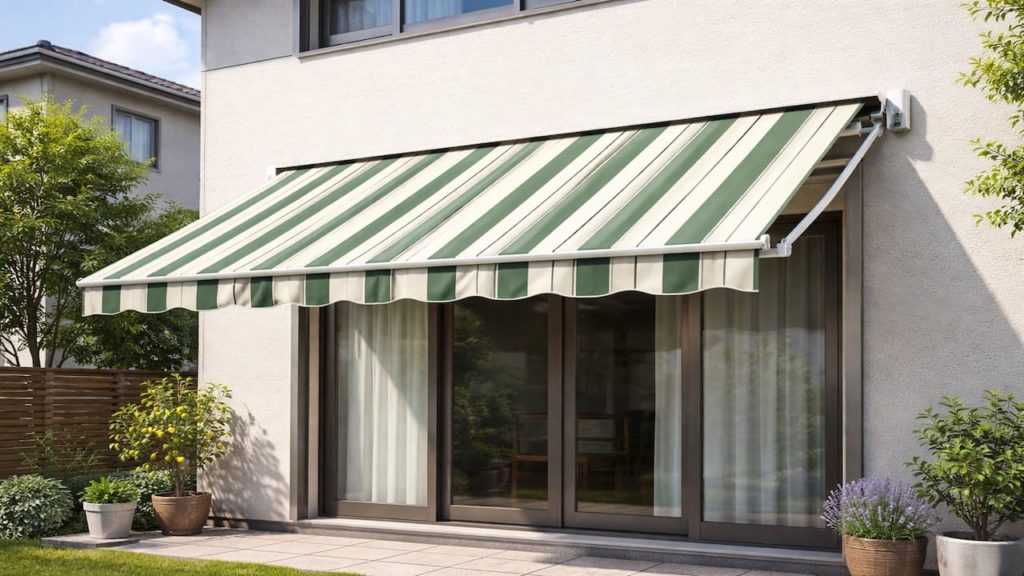
You step back and the awning looks crooked, even if the fabric still works. Now you keep staring at it every time you open the window.
It could be a simple level issue, a bracket mismatch, or a wall that is not as flat as it looks. In Japan, exterior walls can have slight waviness, and tight balconies make small visual errors stand out more.
In this guide, you’ll learn 5 checks to fix a crooked-looking awning. You will confirm the level, brackets, and wall condition so you can correct the tilt without guessing.
Hi, I’m Ken — I’m Japanese, and I live in Malaysia long-term, so I explain everyday life in Japan from a practical ‘from abroad’ perspective.
I hold a building design qualification and I’ve been on site for 20+ years across hundreds of jobs. I turn Japan’s unspoken rules into simple checks, so you can avoid costly mistakes and take the next step with clear actions that feel safe.
1. Awning looks crooked: 5 checks
First confirm whether it is truly out of level.
Eyes lie, especially when nearby lines are not square, like balcony railings and window frames. Start by measuring, not judging, because a 5 mm difference can look huge from one angle. Japan’s compact housing also means you see the awning from close range, so small misalignment feels louder—visual stress.
- Measure left and right drop with tape
- Check the front bar level with bubble level
- Compare distance from wall at both ends
- Check if fabric edge is cut straight
- Look from two different viewing angles
Some people jump straight to loosening bolts, but if the awning is actually level, you can create a real problem. Do not chase your eyes. Confirm the numbers first, then move to hardware checks.
2. Level brackets and wall
Bracket height and wall flatness are the usual culprits.
If one bracket sits higher or deeper, the whole unit twists and looks wrong. Wall surfaces can be uneven, and patchy paint or texture can hide a slight bump that pushes one side out. In Japan, exterior finishes around balconies can include seams and waterproof layers, so small unevenness is normal and it affects bracket seating—tiny gap.
- Check bracket top heights from a fixed reference
- Confirm both brackets sit flush with wall
- Look for spacers used only on one side
- Check bolt torque is even left and right
- Inspect wall surface bumps under bracket plates
You might assume walls are flat, but many are not, and one hidden bump can twist the whole frame. That is why spacers exist. Fix the seat first, then re-check level.
3. Why awnings look crooked even when installed correctly
Nearby lines trick your eye and the fabric exaggerates tilt.
Balcony railings, window frames, and tile joints are not always level, so your awning can look wrong next to them even if it is correct. Fabric can also sag slightly on one side when tension is uneven, and that creates a visual slope. In Japan’s humid season, fabric tension can change as moisture and heat shift, so the same awning can look different week to week.
- Railing is slightly sloped for drainage
- Window frame is not perfectly square
- Fabric stretches more on the sunny side
- One arm has more friction than the other
- Seam lines create optical tilt illusions
People chase perfection and end up loosening good hardware. Bad trade. Use measured references, not the railing line, and you will avoid making it worse.
4. How to correct tilt without damaging the wall
Adjust in small steps and use proper shims.
If measurements confirm a real tilt, correct it with shims or bracket adjustment points rather than over-tightening one side. Plan ¥300–2,000 for plastic shims, stainless washers, and a small level so you can do precise correction without improvising. In Japanese housing, you want reversible fixes because wall repairs can be annoying later.
- Loosen bolts slightly to remove twist
- Add shims where the wall is low
- Tighten bolts evenly in small turns
- Recheck level after each adjustment round
- Test retraction so arms stay symmetrical
You may think cranking one bolt will “pull it straight,” but that often bends brackets and stresses anchors. Slow and even wins. Make the seat flat, then tighten evenly.
5. FAQs
Q1. How much tilt is too much?
A small slope for drainage is normal, but obvious visual lean usually means more than a few millimeters across the span. If one side drops more over time, check anchors and wall condition.
Q2. Could the fabric be the only reason it looks crooked?
Yes, uneven tension or a slightly stretched edge can fool your eye. Measure the frame first, then judge the fabric.
Q3. What is the fastest first check?
Measure the drop on both ends with tape. If the numbers match, the “crooked” look is likely an optical issue from nearby lines.
Q4. Is it safe to add shims behind brackets?
Yes if they are stable and the load is distributed, but avoid soft materials that compress over time. Use proper shims and re-tighten evenly.
Q5. When should I call a pro?
If anchors feel loose, the wall is cracking, or the bracket plate is bending. Do not keep adjusting a failing base, because wind load will finish the job.
Pro's Tough Talk
I’ve spent 20+ years working around Japanese homes, so I’ve seen what tends to work—and what tends to go wrong—in everyday use. A crooked awning usually means one bracket is lying to you, or the wall is not as honest as you think.
Your eyes get tricked by sloped railings and not-square frames, and fabric makes the tilt look worse like a droopy shirt collar. Then people panic and crank one side tighter, which twists the frame and punishes the anchors. You know the scene: you tighten it, step back, and now it looks even worse, like it is mocking you.
Do this now: measure left and right drop with tape. Today: check bracket seating and add proper shims where needed. This weekend: re-tighten evenly and test retraction symmetry.
If the base moves or the wall cracks stop adjusting. Fix the anchoring and the wall surface first, then level the unit, or the next gust will turn your small tilt into a real failure.
Come on. Do not fight geometry with brute force, you are not stronger than a lever.
Summary
Measure first, then check bracket height and wall flatness. Many crooked looks are optical, but real tilt usually starts at the bracket seat.
If the tilt is real, correct it with shims and even tightening, not with one-sided torque. If anything feels loose or cracked, stop and fix the base.
Measure both ends and check bracket seating today so you can correct the tilt without damaging the wall. Then keep learning about wind-safe mounting and simple maintenance checks.


