You rent in Japan and want a fence for privacy or pet control, but you’re worried about what you’re allowed to change. One wrong move and you could lose deposit money or trigger a landlord fight.
In Japan, rules vary by contract, building type, and who owns the outdoor space. Humid summers and rainy season weather also make “temporary” fixes fail if you choose the wrong method.
In this guide, you’ll learn the 5 checks to add a rental fence without regret. You’ll confirm permission, avoid risky holes, and build a restore plan that keeps you safe when moving out.
Hi, I’m Ken — I’m Japanese, and I live in Malaysia long-term, so I explain everyday life in Japan from a practical ‘from abroad’ perspective.
I hold a building design qualification and I’ve been on site for 20+ years across hundreds of jobs. I turn Japan’s unspoken rules into simple checks, so you can avoid costly mistakes and take the next step with clear actions that feel safe.
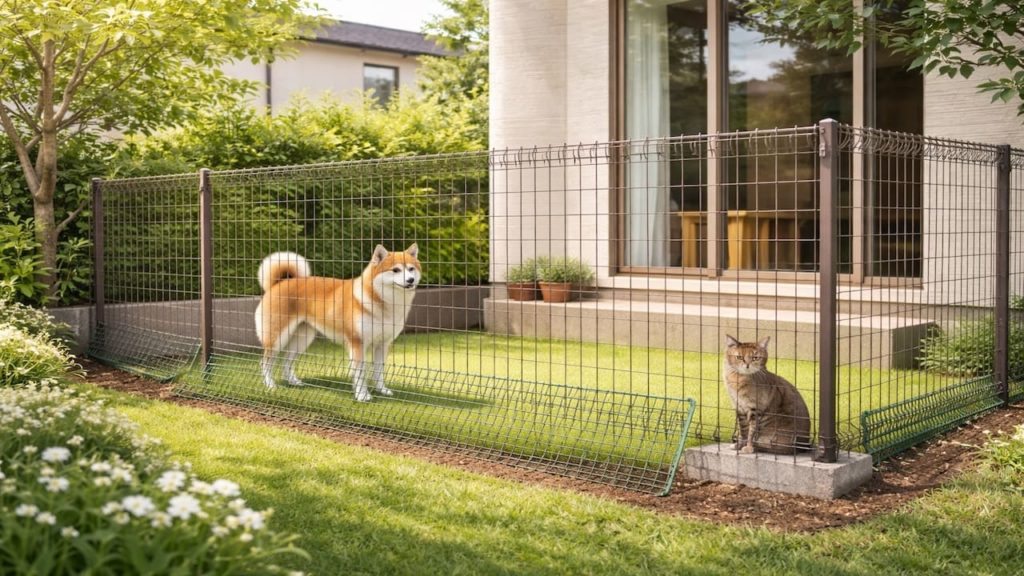
1. Fence in Japan rentals: 5 checks
Rental fence success starts with permission and proof — not hardware.
Many rentals in Japan treat outside areas differently, even in the same building. A “private” yard can still have shared rules, and landlords hate surprises. Moisture swings also loosen cheap fixes, so your plan must match real weather, not wishful thinking. For this section, cost is mostly time/effort because you are verifying rules and documenting.
- Check contract for alteration and exterior rules
- Confirm who owns balcony yard or frontage
- Ask if drilling is banned or allowed
- Record photos of current condition before anything
- Write a simple restore plan for move-out
You may think “it’s outside, so it doesn’t matter,” but outside damage still counts. A small hole or stain can become a deposit argument later. Do the checks first and you can build privacy without fear. Clean start.
2. Permission holes and restore plan
Never drill or dig until you have written permission — and a reset plan.
Holes are the line that turns a “temporary” idea into a repair bill, especially in tight Japanese housing where walls and boundaries are sensitive. Even if a landlord allows small pin holes, fence posts and anchors are a different category. If you buy non-damage parts, plan ¥1,000–15,000 for items like freestanding bases, zip ties, clamps, and protective pads. Small spend, big peace.
Some rental guides for living in Japan explicitly say you must obtain permission before renovating or boring holes in walls. According to pref.saitama.lg.jp.
- Ask landlord by message and save reply
- Use clamp systems instead of drilling hardware
- Protect contact points with rubber pad strips
- Plan removal steps and cleaning before moving
- Keep spare parts for quick restore later
Some people say “I’ll just patch it later,” but patching is never invisible. Others think verbal approval is enough, then the property manager changes and denies it. Written permission plus a restore plan keeps you calm and keeps everyone honest. That’s the move.
3. Why rental fences get risky in Japan
Risk comes from unclear boundaries and restore costs — not the fence itself.
The big problems are usually scope, not style: who controls the space, what counts as damage, and what the landlord expects at move-out. In Japan, small lots and close neighbors also raise complaint risk if your fence changes light, airflow, or access. Seasonal humidity can swell wood and open gaps, making your “safe” setup start rubbing and scuffing surfaces. For this section, cost is mostly time/effort because you’re mapping risk before buying.
Japan’s “restoration to original condition” guidance explains tenants generally pay for damage beyond normal wear and tear, not ordinary aging. According to mlit.go.jp.
- Shared edges make neighbors notice small changes
- Outdoor areas can be common not private
- Moisture makes temporary parts shift and rub
- Managers change and old promises disappear fast
- Move-out inspections focus on visible marks
You might think this is overthinking, but one complaint can force removal. And one scuffed surface can become a charge if it looks “avoidable.” When you treat it like a boundary and restore problem, the fence decision becomes simple. Facts first.
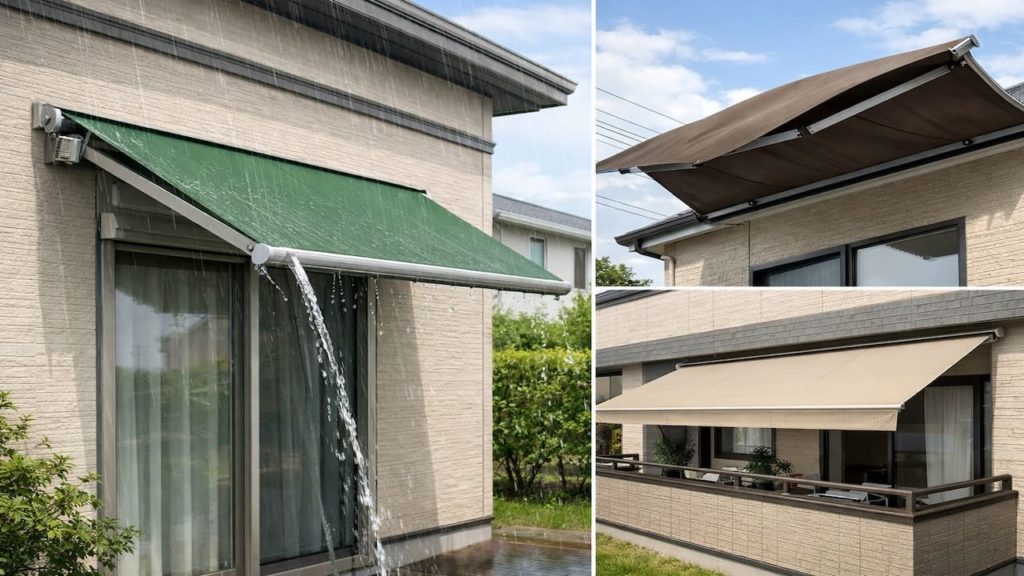
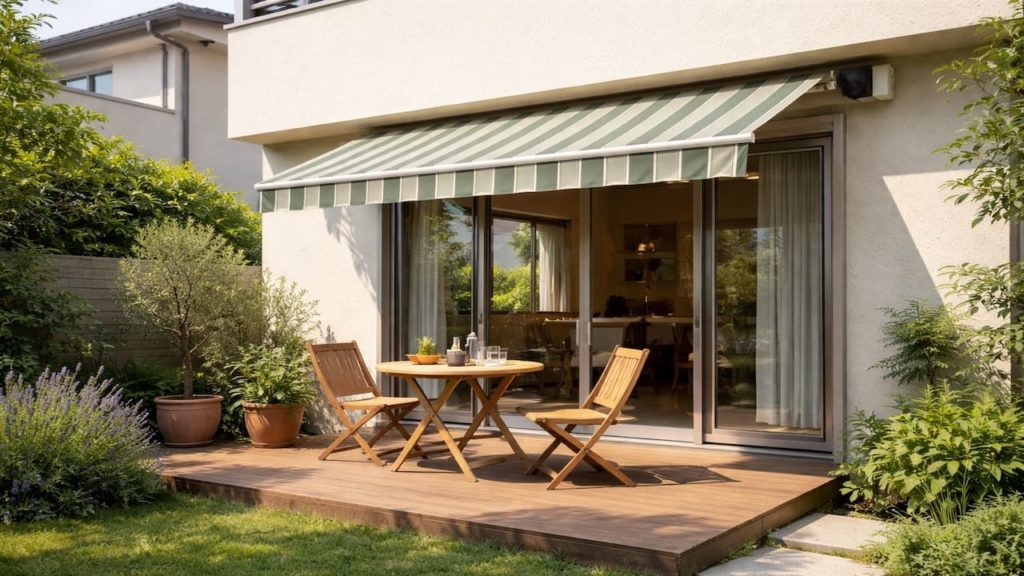
4. How to add privacy safely without holes
Choose freestanding and reversible systems that respect surfaces — then test in wind.
Start with solutions that don’t penetrate walls, floors, or soil: freestanding screens, weighted bases, mesh tied to existing rails, or plant planters that act as a soft barrier. In Japan, rainy season gusts can tip lightweight panels, so your setup must be stable and quiet. Plan ¥3,000–30,000 depending on length and whether you need bases, clamps, or privacy mesh. Keep it reversible.
- Use weighted bases instead of buried posts
- Attach mesh with ties to existing rails
- Leave airflow gap to avoid trapped damp
- Test stability by pushing and shaking lightly
- Pad edges to prevent rubbing marks
You might worry freestanding systems look weak, but good placement beats brute strength. If your test bay survives a windy day without shifting, you can scale it confidently. If it slides or taps, fix stability before adding more panels. No repeat mistakes.
5. FAQs
In rentals the safest fence is the one you can remove clean — especially after humid months.
Q1. Can I put a fence on a rental balcony in Japan?
Sometimes, but you must check building rules and the lease first. Use reversible clamps or freestanding screens and avoid drilling.
Q2. Are small holes ever allowed in rentals?
Some rentals allow tiny pin holes for light items, but fence anchors are usually treated differently. Ask in writing and keep the message.
Q3. What is the easiest restore plan for move-out?
Use systems that leave no marks, then photograph removal and cleaning. Keep spare pads and ties so you can reset fast.
Q4. What if my landlord refuses any fence?
Switch to non-fence privacy like tall planters or interior window films. You can also ask for a limited temporary option with a clear restore promise.
Q5. What should I document before installing anything?
Photos of the current surfaces, edges, and corners, plus the landlord’s permission message. Documentation makes inspections calmer.
Pro's Tough Talk
I’ve spent 20+ years working around Japanese homes, so I’ve seen what tends to work—and what tends to go wrong—in everyday use. In rainy-season humidity, “temporary” setups slip, rub, and leave marks when you least expect it.
Here’s the cold breakdown. If you drill without permission, you’re basically signing a repair invoice with your own hands. If you build something unstable, wind will shake it like a maraca until something scratches. If you don’t plan removal, you’ll panic at move-out like a student cramming the night before a test. Two metaphors, same truth.
Check the lease and message the landlord now.
Build one reversible test bay today.
Run a full remove-and-clean practice this weekend.
If you cannot remove it clean you should not install it. If your test bay leaves no marks and stays stable, copy it and relax. If the landlord stays vague or says no, stop pushing and switch to a softer privacy method.
Come on.
Classic scene: you “just tighten one screw,” then realize you made a hole you can’t hide. Another one: you’re moving out, it’s raining, and your fence base is stuck to the ground.
Summary
Rental fences in Japan are safe when you confirm permission, avoid holes, and document the current condition. Treat it as a restore-plan project, not a weekend DIY flex.
Use reversible systems like weighted bases, clamps, and mesh ties, then test one section in real wind and rain. If anything rubs or shifts, fix stability before expanding.
Do the permission check today and build one removable test bay first so you get privacy without deposit drama and keep momentum for your next home improvement decision.