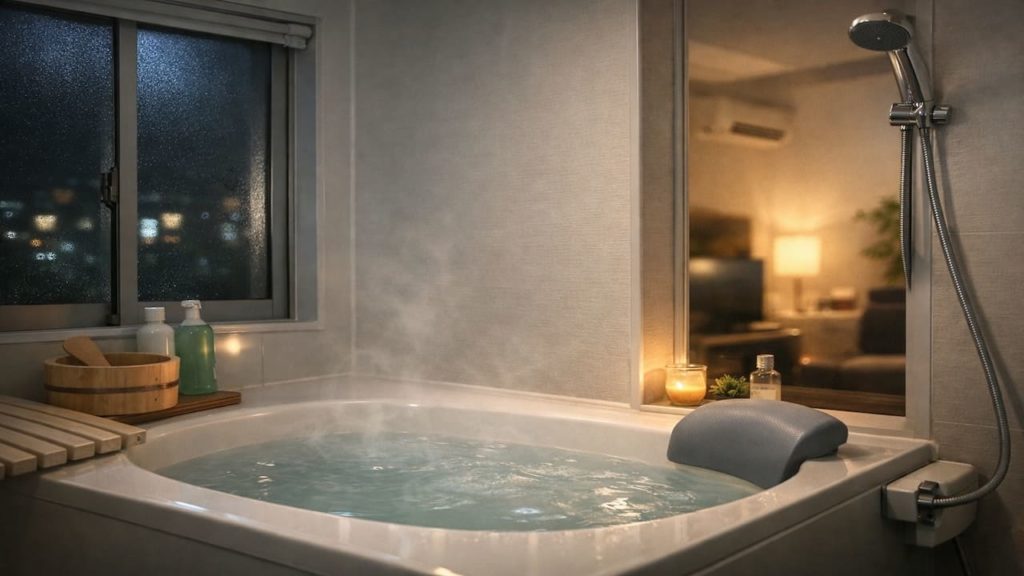
You want to care for an ofuro rental bathroom, but you are scared of doing the wrong thing. You also do not want to lose your deposit over small damage.
Most problems come from daily moisture, harsh scrubbing, and ignored grime that slowly stains fixtures. In Japan apartments, unit baths dry slower in humid tsuyu weeks, so stains lock in.
In this guide, you’ll learn how to keep a rental bathroom deposit safe with simple checks and habits that protect fixtures without over-cleaning.
Hi, I’m Ken — I’m Japanese, and I live in Malaysia long-term, so I explain everyday life in Japan from a practical ‘from abroad’ perspective.
I hold a building design qualification and I’ve been on site for 20+ years across hundreds of jobs. I turn Japan’s unspoken rules into simple checks, so you can avoid costly mistakes and take the next step with clear actions that feel safe.
1. Ofuro rental bathroom care: 5 tips
Gentle cleaning and fast drying protect most fixtures — and it keeps move-out stress low.
Rental bathrooms fail in boring ways: soap film, scale, and damp corners that slowly discolor caulk and metal. If you scrub too hard, you create scratches that look like “damage,” even if the bathroom is clean. Aim for repeatable light care, not a monthly battle. Calm routine wins.
Security deposits are returned minus costs for repairs when a unit is damaged or dirtied beyond normal use. According to mlit.go.jp.
- Photograph existing stains and scratches before cleaning
- Use neutral cleaner on chrome and plastic
- Rinse after shampoo to prevent soap film buildup
- Dry faucet base and corners after every bath
- Store bottles on tray not directly on floor
You might think “more power” means cleaner, but rentals punish aggressive cleaning. A light wipe every day beats a hard scrub once a month. Keep surfaces smooth, and they stay easier to restore later. That is the deposit-friendly path.
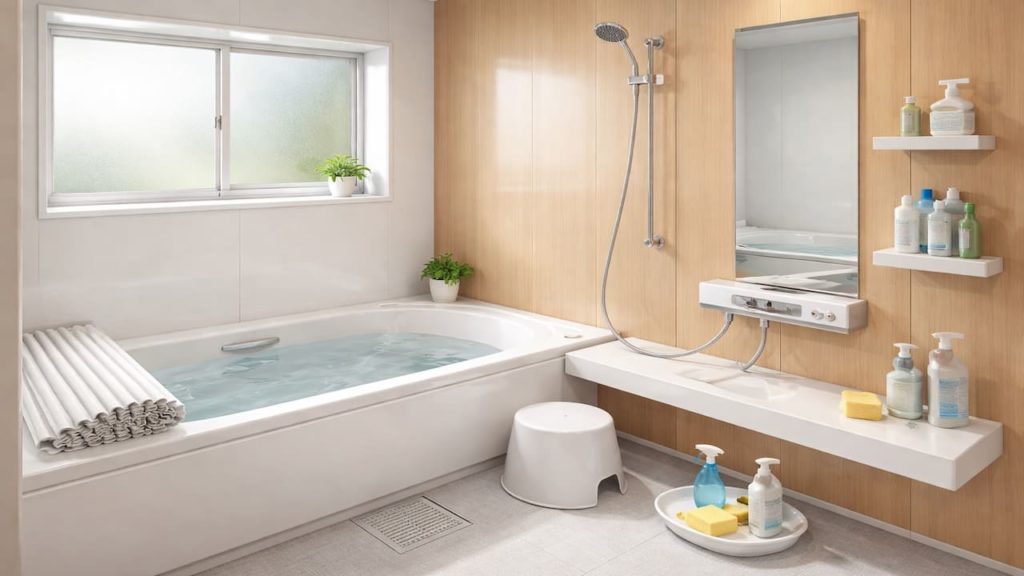
2. Protect fixtures and avoid deposit loss
Prevent scratches and chemical burns on surfaces — those look like tenant-caused damage.
Most fixtures are coated metal, acrylic, or plastic panels, and they show abrasion fast. The biggest risks are abrasive sponges, strong chemicals left too long, and hard objects banging the tub or mirror. Keep contact points soft, and keep chemical use minimal. Quiet care.
The MLIT guide explains how deposit deductions relate to cleaning and restoration costs at move-out. According to mlit.go.jp.
- Place soft cloth under buckets and stools
- Avoid abrasive sponges on mirror and panels
- Test a spot before using strong cleaners
- Clean drain hair catcher to prevent clogs
- Keep caulk lines dry to slow discoloration
You may believe “as long as it is clean, it is fine,” but scratched fixtures still look bad at inspection. Avoid anything that creates haze, dull spots, or scuff marks. If you protect the finish, cleaning becomes easier too. Two wins.
3. Why rental bathrooms fail deposit checks
Inspectors notice stains that look permanent — even when the room feels usable.
Cause one is scale and soap film that builds into a white haze on chrome and acrylic. Cause two is damp corners that darken caulk and door gaskets, which reads as neglected hygiene. Cause three is small scratches from tools and abrasive pads, which look like careless handling. These are avoidable with light habits.
- Notice black dots near gasket and bottom rail
- Check chalky scale around faucet and showerhead
- Look for rust stains at screw heads
- Smell near drain after door stays closed
- Watch for warping on plastic shelves
You might worry everything will be blamed on you, but “normal wear” is real. The problem is when dirt turns into discoloration that cannot be wiped off quickly. Catch it early and you stay in the safe zone. Early beats late.
4. How to build a deposit safe bathroom routine
Do small daily resets and one weekly check — that is enough for most rentals.
Keep the routine light so you actually do it, and focus on drying and residue control. Plan ¥100–500 for a microfiber cloth or a small soft brush, then reuse them instead of buying harsh sprays. In Japan rental life, the goal is “clean and undamaged,” not “perfect showroom.” Consistency matters.
- Keep a microfiber cloth in bathroom always
- Do a quick rinse then wipe wet zones
- Hang mats and chairs so air reaches underside
- Use fan timer and crack door slightly
- Log any damage with photos and dates
You might think photos are overkill, but they prevent awkward arguments later. If you did this and it still fails, next is asking management what cleaning standard they expect and requesting a pre-move-out check. That is smarter than guessing. Be boring and safe.
5. FAQs
Q1. What cleaning mistakes cause the biggest deposit losses?
Abrasive scrubbing and leaving strong chemicals on surfaces too long are common causes. They create dull patches and scratches that look like damage at inspection.
Q2. What should I document to protect my deposit?
Take before and after photos of key areas. Focus on the drain, caulk lines, mirror edges, and any existing stains you noticed when moving in.
Q3. Is mold on caulk always the tenant’s fault?
Not always, but letting it spread without drying habits can look like neglect. In Japan humid seasons, regular ventilation and quick wiping help show reasonable care.
Q4. Should I use bleach sprays in a rental unit bath?
Use them only when needed and only as the label allows — and rinse well. For routine care, neutral cleaners and drying are safer for finishes and lungs.
Q5. When should I contact management instead of DIY?
If you see leaks, cracked caulk that keeps widening, or fixtures that wobble, stop and report it. Repairs done wrong can cost more than the original issue.
Pro's Tough Talk
I’ve spent 20+ years working around Japanese homes, so I’ve seen what tends to work—and what tends to go wrong—in everyday use. In tsuyu humidity, rental bathrooms punish laziness and also punish overconfidence. One dumb scratch can cost you more than a year of mild cleaner.
Cause one: you scrub like you are sanding a boat, and the mirror or faucet ends up with a permanent haze like sandpaper on chrome. Cause two: you let water sit in corners, and the gasket turns into a damp sock drawer that never fully dries. Cause three: you ignore small stains until they look “baked in,” then you panic and use harsh chemicals that bite the surface. Scene one: you clean hard, feel proud, then notice a cloudy patch that will not disappear. Scene two: you move out and realize the black corner you ignored is now the first thing anyone sees.
Come on.
Stop abrasive scrubbing right now.
Wipe wet zones and dry gaskets today.
Take photos and do a weekly check this weekend.
Gentle daily care beats emergency deep cleaning. If you did this and it still fails, next is asking management for a pre-check and getting written guidance on acceptable cleaning and wear.
You do not need to baby the bathroom, you need to stop fighting it. Keep treating it like a battle arena and the deposit will treat you like a donation.
Summary
Protect fixtures by avoiding abrasives, controlling moisture, and keeping residue from building up. Document condition so small issues do not become arguments.
If stains start to look permanent or hardware feels loose, switch from DIY to management before you cause damage. Use “can I restore it with a light wipe” as your decision line.
Tonight wipe the wet zones and store bottles off the floor. Keep that boring habit, and move-out day feels calm instead of expensive.