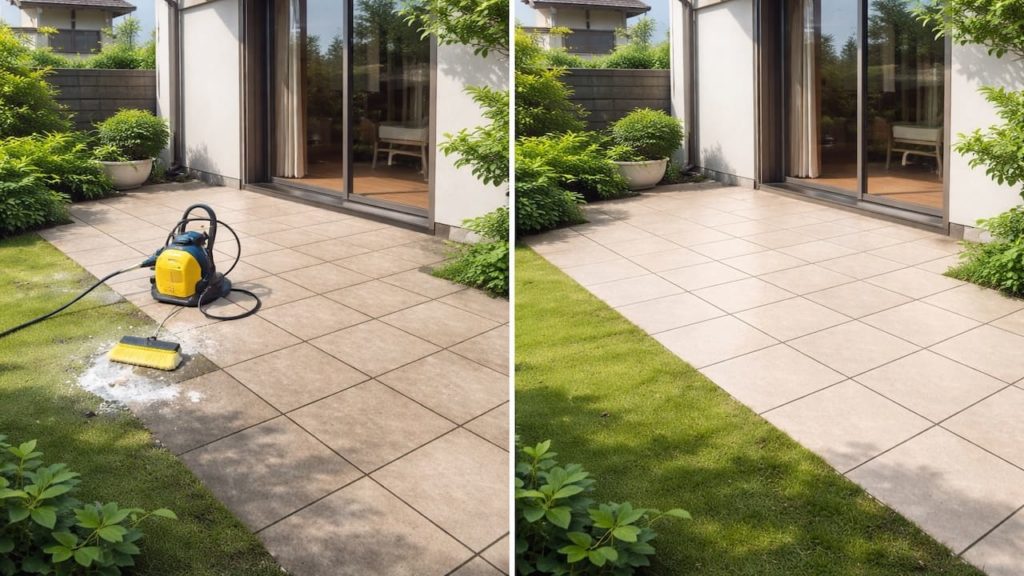
You look at the patio joint and the gap looks bigger than it used to. Now you’re wondering if you should fill it, or if filling it will cause new cracks.
Some gaps are normal movement space, and some mean the joint failed or the base shifted. In Japan, long wet seasons and freeze-thaw pockets can make joints change faster.
In this guide, you’ll learn how to judge the gap and fill it the right way so it stays flexible and clean. You’ll also learn the depth checks that prevent peeling and messy sealant.
Hi, I’m Ken — I’m Japanese, and I live in Malaysia long-term, so I explain everyday life in Japan from a practical ‘from abroad’ perspective.
I hold a building design qualification and I’ve been on site for 20+ years across hundreds of jobs. I turn Japan’s unspoken rules into simple checks, so you can avoid costly mistakes and take the next step with clear actions that feel safe.
1. Patio expansion joint gaps: 5 checks before you fill them
Don’t fill a moving joint with a rigid patch—that’s how slabs start fighting.
Expansion joints exist to move, so your first check is whether the gap is doing its job or showing failure. On Japanese patios, water sits in joints, then drags grit in, and the joint turns into a mini drain and a mini sand trap at the same time. That combo makes gaps look worse than they are. Quick diagnosis. No guessing.
- Confirm it is an expansion joint not a crack
- Check if the joint runs around the perimeter edges
- Look for old filler that is torn or missing
- Probe depth to see if debris is hiding inside
- Watch after rain to see if water drains there
You might think “Any gap is bad, fill it now.” Not always. If the joint is meant to stay open for movement or drainage, sealing it wrong can trap water and worsen staining. Know the joint’s role first. Then act.
2. Seal flex and depth
The seal has to stretch and the bead has to be shaped right.
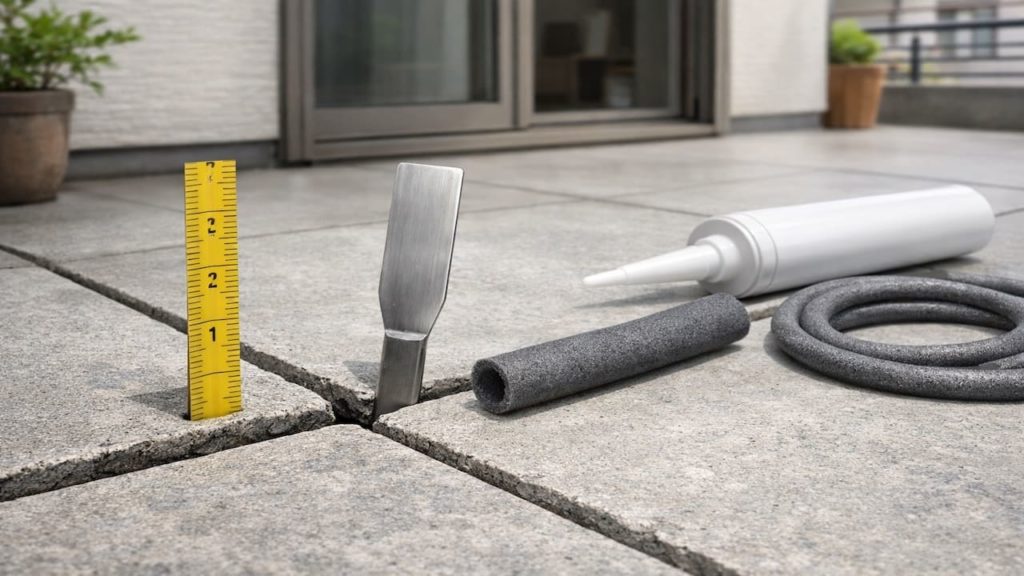
Flexible sealant works when it bonds to the two sides and does not stick to the bottom—clean “hourglass” behavior. If the bead is too deep, it gets stiff and tears; if it is too thin, it fails fast. Backer rod is the tool that controls this, and it also stops three-sided adhesion—big deal for movement.
A common guideline is a 2:1 joint width-to-depth ratio, and using backer rod to control depth and prevent bonding at the back of the joint.
- Measure joint width at multiple spots not one
- Set backer rod so depth stays consistent
- Avoid three sided adhesion by using a bond breaker
- Choose sealant made for exterior movement joints
- Tool the bead smooth so water cannot sit
You might want to stuff the gap full to “make it stronger.” That backfires. A fat bead turns stiff, then cracks or pulls away when the patio moves. Depth control is strength. Simple geometry.
3. Why patio joints open up and look worse over time
Gaps grow when movement continues but the filler can’t move.
Heat cycles, moisture cycles, and base settlement all change the joint width a little. Add wet grit that falls in and blocks the joint from closing, and the gap stays open even when conditions change—classic patio look. In Japan, humidity keeps debris sticky, so it builds faster near door tracks and walls. Little changes stack.
- Base settlement changes joint width and height
- Old filler shrinks and loses adhesion
- Grit packs in and prevents full joint closure
- Water sitting in joints drives staining and wear
- Rigid patches crack and leave ragged edges
You might blame “bad concrete” or “bad pavers.” Sometimes it is just a normal joint doing normal work with a failed filler. Fix the filler the right way and the joint behaves again. Clean result.
4. How to fill patio expansion joints so they stay clean and flexible
Clean deep then set backer rod then seal in one calm pass.
Basic supplies usually land around ¥700–2,000 depending on what you already have—one cartridge is often the main cost. According to monotaro.com. Remove loose debris, vacuum the joint, and dry it fully before sealing, because wet joint walls kill adhesion. Then press backer rod to the right depth, apply sealant evenly, and tool it so water sheds. On Japanese patios, drying time matters because humid air slows cure.
- Cut out old filler and vacuum the joint clean
- Dry the joint fully before applying any sealant
- Install backer rod to control bead depth
- Apply sealant with steady pressure and no gaps
- Tool the bead so runoff does not linger
You might want to seal right after a rain because you’re motivated. Bad timing. Sealant on damp walls peels, then you redo everything. If the joint stays wet or keeps draining water, solve drainage first, then seal. One good job.
5. FAQs
Q1. Should I fill every joint gap I can see?
No fill only the joints meant to be sealed and leave drainage gaps alone. If water needs that path to escape, sealing it can create pooling.
Q2. What is the biggest mistake with expansion joint sealant?
Filling the whole depth with sealant and skipping backer rod. That creates a stiff bead that tears or pulls away when the patio moves.
Q3. My joint edges are crumbly, can I still seal it?
You can, but you may need to clean back to solid material first—sealing onto weak edges is a short life fix. If the edge keeps breaking, you might need repair mortar before sealant.
Q4. Can I use cement or mortar to fill the gap?
Not for a real expansion joint because it must move. Rigid fill usually cracks fast and can chip the edges as movement continues.
Q5. When is the best time to do this in Japan?
Pick a dry stretch so the joint walls are actually dry before sealing. Avoid the most humid weeks if you can, because cure and adhesion get harder.
Pro's Tough Talk
I’ve spent 20+ years working around Japanese homes, so I’ve seen what tends to work—and what tends to go wrong—in everyday use. Expansion joints are supposed to move, so don’t turn them into concrete prison bars.
Here’s what really happens: people shove in rigid filler, the patio moves anyway, and the filler cracks like a stale cookie. Or they pump sealant deep like they’re filling a bathtub, and the bead turns stiff and rips when the joint flexes. Then grit falls in and acts like tiny gravel teeth grinding the edges.
Do this now: scrape loose junk and vacuum the gap. Do this today: dry the joint and set backer rod depth. Do this on the weekend: seal clean, tool smooth, then stop poking it.
If the gap keeps changing width day to day you need flexible sealant and a proper bead shape, not more material. If water keeps running through the joint, fix runoff first, then seal.
Nice try.
Summary
Expansion joint gaps are normal until the filler fails or the joint becomes a dirt and water trap. Check the joint’s purpose, depth, and moisture path before you seal.
Depth control with backer rod and a flexible bead shape prevents tearing and peeling. If the joint stays wet or acts like a drain, solve runoff first or the seal will fail.
Clean the joint and measure depth today so you know exactly what you are sealing. Then keep the patio momentum going with one more quick exterior check.