You step onto your patio tiles after rain and they feel slick underfoot. It only takes one wrong step to make you tense up and walk like a penguin.
Slippery tiles usually come from a thin film you can’t see, plus water sitting where it shouldn’t. In Japan, long humid stretches and sudden showers make that film build up fast.
In this guide, you’ll learn 5 fixes that actually improve grip in rainy weeks without ruining the tile look. You’ll learn what to clean, what to add, and how to keep it from coming back.
Hi, I’m Ken — I’m Japanese, and I live in Malaysia long-term, so I explain everyday life in Japan from a practical ‘from abroad’ perspective.
I hold a building design qualification and I’ve been on site for 20+ years across hundreds of jobs. I turn Japan’s unspoken rules into simple checks, so you can avoid costly mistakes and take the next step with clear actions that feel safe.
1. Patio tiles feel slippery: 5 fixes that work in rainy weeks
Grip comes back when you remove film and control wet time.
Most slippery patios are not “too smooth,” they are coated with a mix of algae, grime, and soap-like residue. Rain spreads the film, then shade keeps it wet and slick longer. In Japanese homes, tight fences and walls can block wind so the surface stays damp into the afternoon. Real fix means cleaning the right layer, then adding traction where water always wins.
- Scrub a small test patch and compare grip
- Check for green film in shaded tile grooves
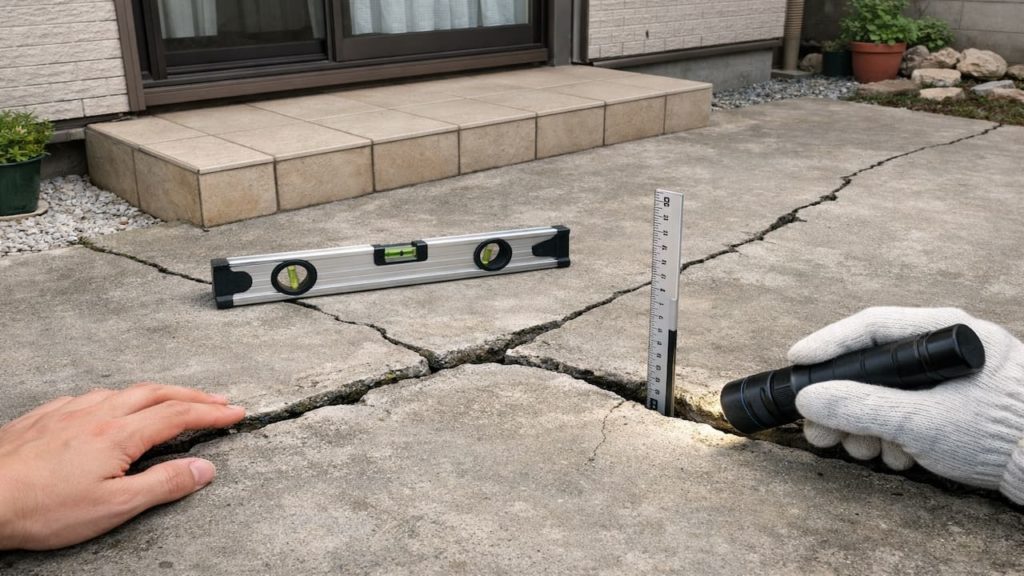
- Watch where puddles sit after heavy rain
- Feel for slick spots near planters and drains
- Add traction zones where feet always land
Some people think more water pressure solves everything. It can spread film and make it worse if you don’t remove residue. Fix the film, fix the wet time—then the surface behaves.
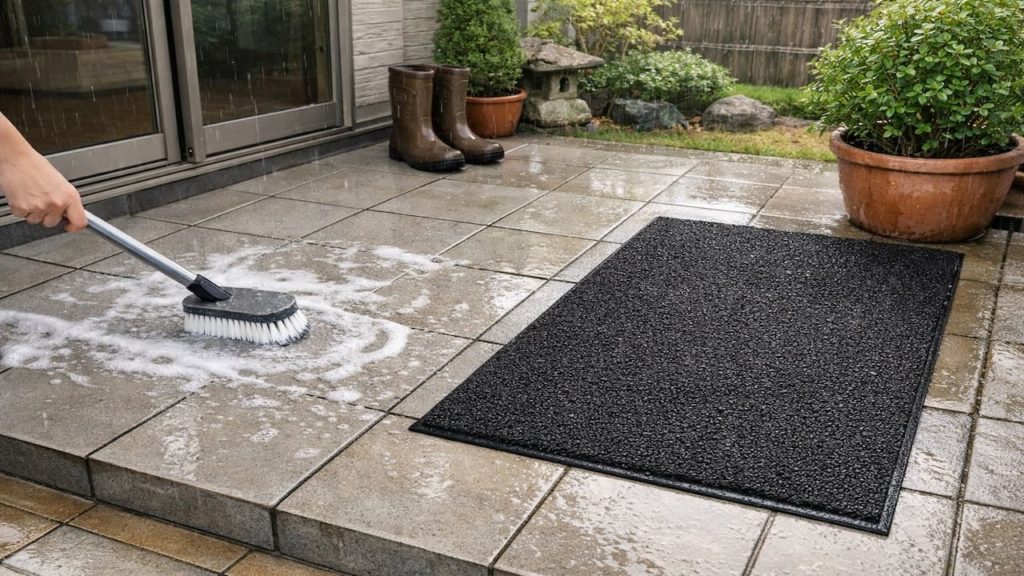
2. Texture cleaners and mats
The fastest win is targeted cleaning plus a traction mat.
A texture-safe cleaner removes the slick film without polishing the tile smoother, and a drain-style mat gives grip even when the tile is wet. For basic supplies like a stiff brush, pH-neutral cleaner, and 1–2 outdoor anti-slip mats, expect about ¥3000–12000 depending on size and quality. In Japan’s rainy season, mats work best when they can drain and dry instead of trapping water underneath. Quick result. Less stress.
- Pick cleaners labeled safe for textured tiles
- Use a stiff nylon brush for grip grooves
- Choose mats with holes for fast drainage
- Place mats at door exits and chair zones
- Lift mats weekly and rinse underneath fully
People buy a mat and never lift it, then the stink starts. Mats help only when they drain and breathe. Use them as traction tools, not as permanent rugs—otherwise you trade slipping for mold smell.
3. Why wet tiles get slippery even if they look clean
Invisible film and standing water are the real slip makers.
Dust, pollen, and tiny oils form a smooth layer that turns into a lubricant when wet. Algae and biofilm also grow in shade and grout texture, even when the tile color still looks normal. In Japan, warm humidity keeps biofilm active and makes the “wet sheen” last longer, especially on north-facing patios. Not all tiles are slip-proof when wet, only slip resistant. According to crossville.com.
- Water plus dust makes a slick lubricant layer
- Biofilm grows in shade and grout texture
- Soap residue from washing reduces wet friction
- Puddles keep the slick layer active longer
- Smooth edges become skating zones when soaked
Some folks blame the tile brand and give up. The bigger issue is maintenance and wet time, not the logo. Remove the film and stop puddles—then even “normal” tile feels safer.
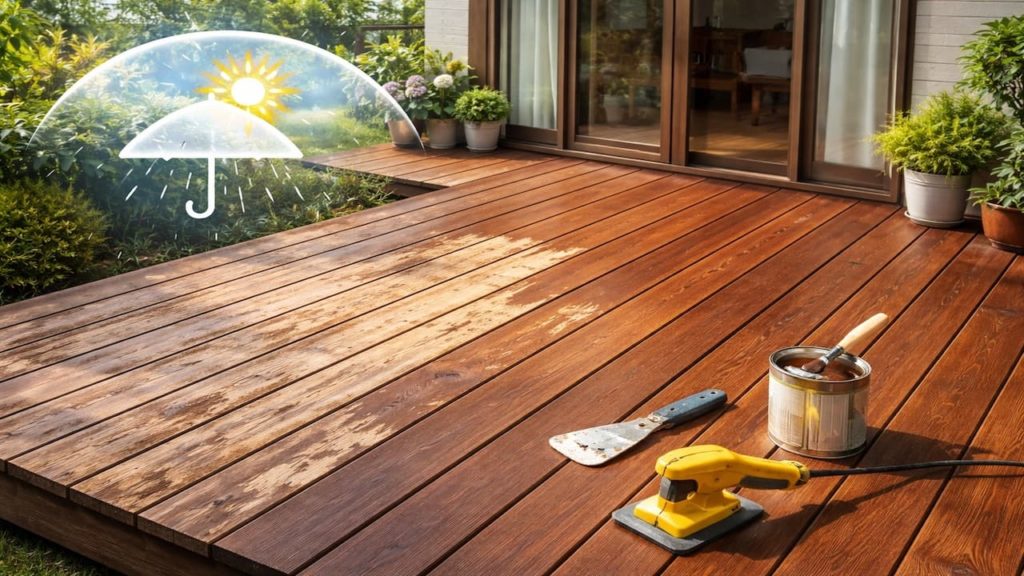
4. How to fix slippery tiles and keep them safer long term
Clean in stages then add permanent traction where needed.
First remove loose grit, then scrub with the right cleaner, then rinse until runoff is clear and not slick. Next, reduce wet time by improving drainage and airflow, and add traction strips or a mat in the highest-risk walking line. If you’re buying traction tape or strips, small packs are often ¥1000–4000, and you’ll spend more time on prep than money. In Japanese outdoor spaces, the safest route is dry-fast design: fewer puddles, more air, fewer surprises. A smooth clean dry floor is rarely a slip risk. According to HSE.
- Sweep grit first so you do not smear film
- Scrub with cleaner then rinse until non slick
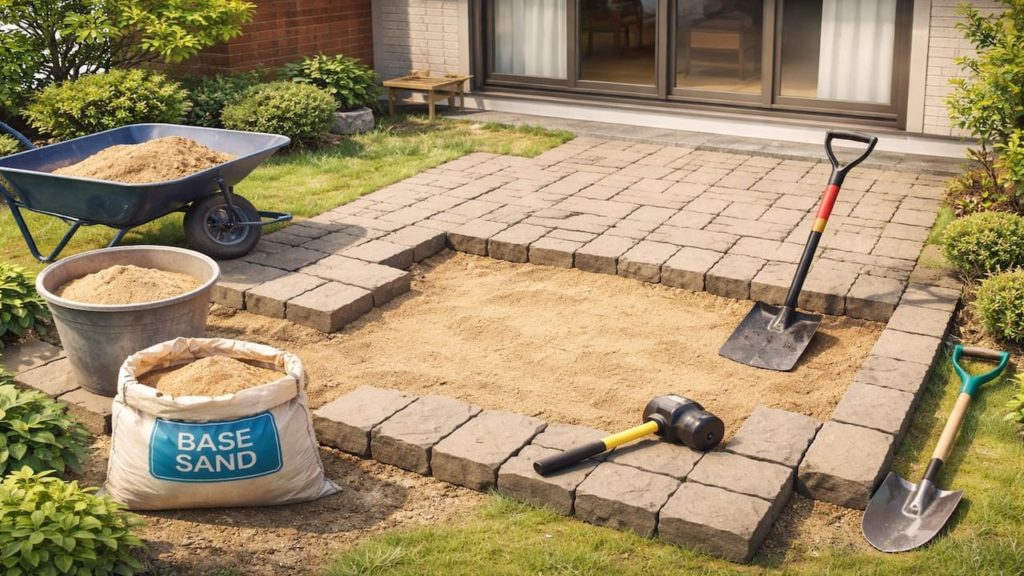
- Fix puddles by adjusting slope or drain path
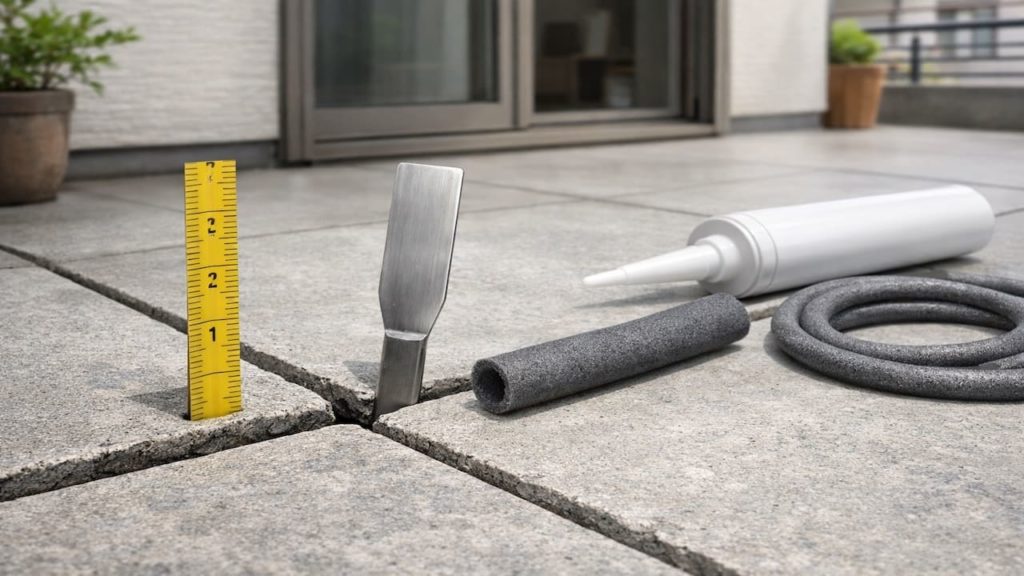
- Add traction strips at steps and door exits
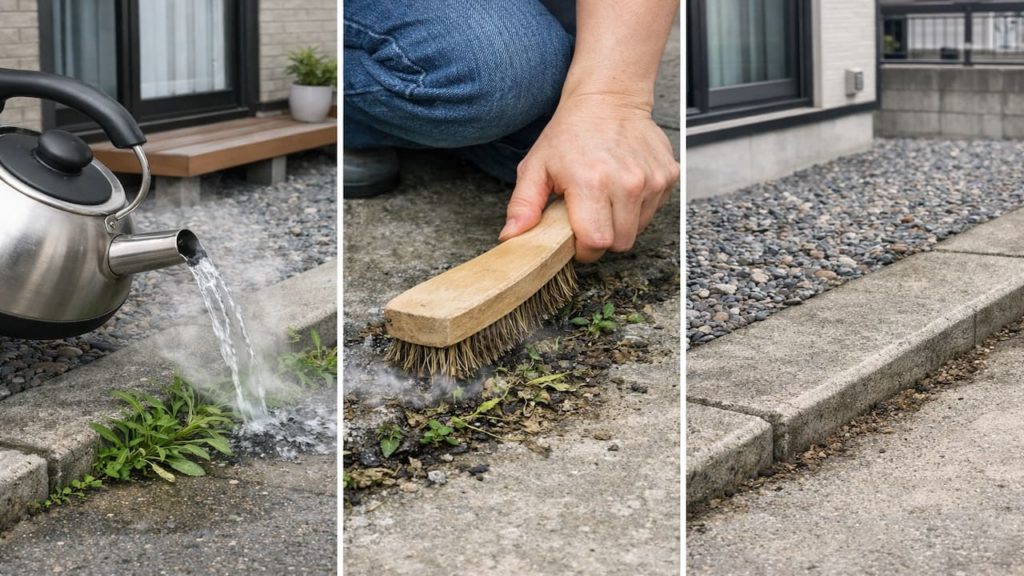
- Trim plants to increase sun and airflow
People try a single wash and expect miracles. Slippery film often needs repeat passes and full rinse, then dry-check. Build a small routine—rainy weeks stop feeling like a hazard course.
5. FAQs
Q1. Is it safer to use bleach on slippery patio tiles?
Bleach is not the best first choice because it can leave residue issues and does not fix puddles. Start with a texture-safe cleaner and hard rinse, then improve drying.
Q2. Why do my tiles feel slick only in certain spots?
Those spots usually stay wet longer or collect film faster, like shade corners and near planters. Trace puddles and drip lines, then treat that lane as the priority.
Q3. Will a sealer make tiles less slippery?
Some sealers can change surface behavior and can even make things worse if they create a film. If you seal, choose products meant for outdoor traction and test first.
Q4. What type of mat works best outdoors?
Use a drain-through mat that does not trap water underneath. Avoid plush styles that stay wet and get slippery on top—especially in long rainy stretches.
Q5. How often should I clean during rainy season?
More often than dry months, because film builds faster when surfaces stay damp. A quick scrub of the worst lane plus a rinse can keep grip stable.
Pro's Tough Talk
I’ve spent 20+ years working around Japanese homes, so I’ve seen what tends to work—and what tends to go wrong—in everyday use. In Japan’s humid rainy weeks, slippery tile is not bad luck, it’s physics plus grime.
Three things do the damage: biofilm in shade, residue from lazy rinsing, and puddles that camp on the same walking line. That slick film is like invisible soap, and your feet are the test dummies. Tile can look clean and still be sketchy, because the danger is a thin layer, not a big mess.
Right now, scrub one small lane and rinse until it squeaks. Today, place a drain mat where you step out first. This weekend, fix the puddle path and trim the shade that keeps it wet.
Do that and the patio stops trying to prank you. If you still slip after a deep clean and full dry you need traction help, not more soap, so add strips or replace that lane with a grippier surface. If the slickness only shows in one corner, chase water and shade, not the whole patio.
Nope.
One rainy night, one fast step, and suddenly you’re doing free slapstick for the neighborhood. Fix the lane before the patio makes you famous.
Summary
Slippery patio tiles usually come from invisible film plus water sitting too long. Find the slick lane, clean it correctly, and stop puddles from camping there.
Use texture-safe cleaning with full rinsing, then add mats or traction strips in the highest-risk steps. Keep airflow and sunlight working for you so rainy weeks don’t win.
Scrub one test patch and add one drain mat today to feel the grip change immediately. Then keep moving through the patio moisture topics that match your layout and make the whole space calmer to walk on.