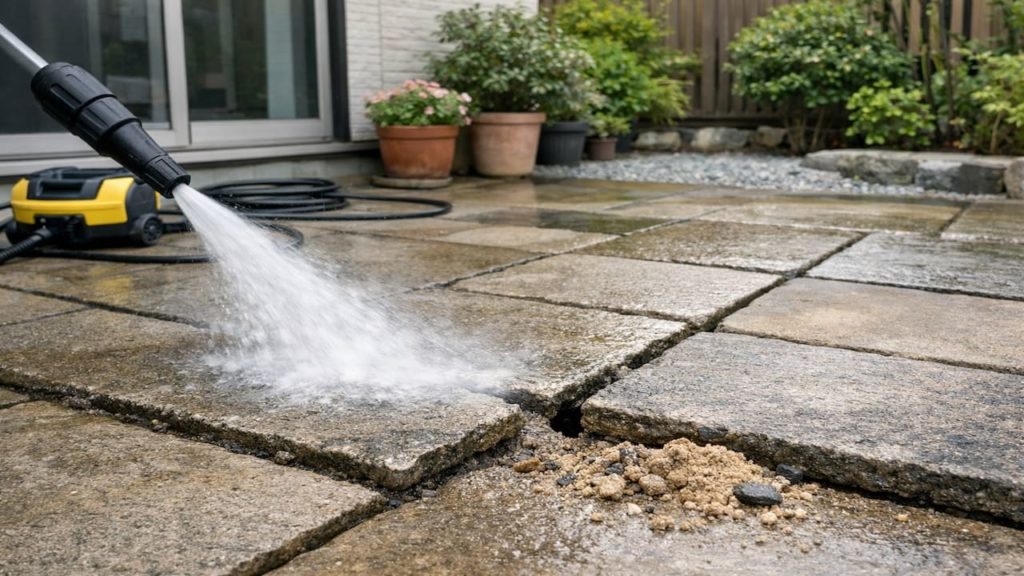
You aim the pressure washer at the patio joints, and it feels like the fastest win. Then you remember the sand can blow out and the surface can get scarred.
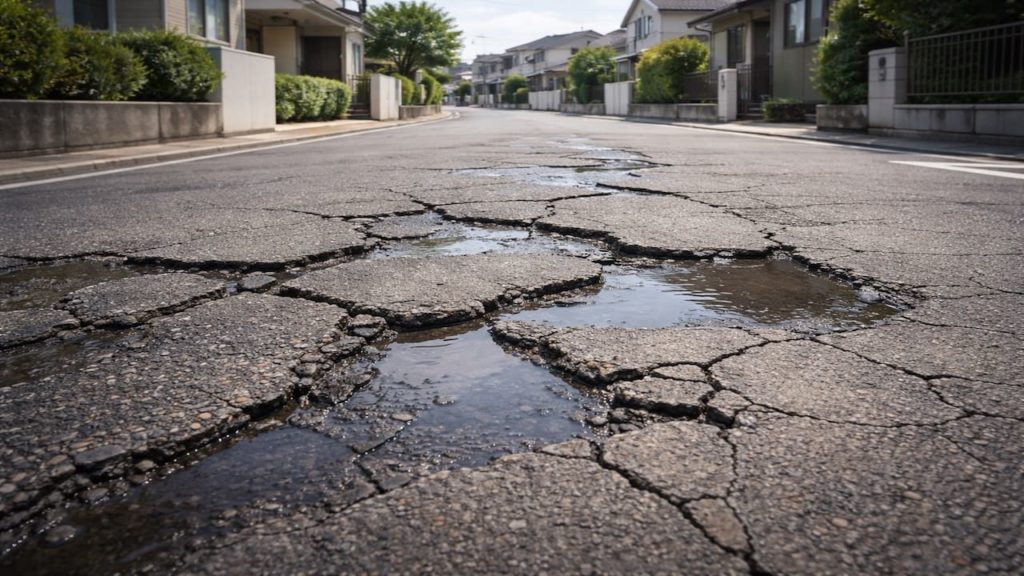
High pressure can strip joint material, force water under edges, and even etch soft stone. In Japan, rainy weeks keep joints damp, so damage happens faster than you expect.
In this guide, you’ll learn 5 checks to clean safely before you blast the joints and avoid sand loss and hidden undermining. You’ll also learn when a gentle rinse beats more pressure.
Hi, I’m Ken — I’m Japanese, and I live in Malaysia long-term, so I explain everyday life in Japan from a practical ‘from abroad’ perspective.
I hold a building design qualification and I’ve been on site for 20+ years across hundreds of jobs. I turn Japan’s unspoken rules into simple checks, so you can avoid costly mistakes and take the next step with clear actions that feel safe.
1. Patio pressure washer risk: 5 checks before you blast joints
Pressure washing joints is risky because it can remove support fast—quietly.
Joints are not just lines, they lock pavers and tiles in place and help water drain the right way. If you remove too much sand, water moves where it should not and the base can start to void. In Japan, humidity keeps joints softer and algae film makes you want to over-blast, which is how people shred the seams. Start with checks that show you how fragile the joints are before you pull the trigger.
- Brush a joint and see if sand disappears
- Tap tiles and listen for hollow tone
- Check for wobble at edges and corners
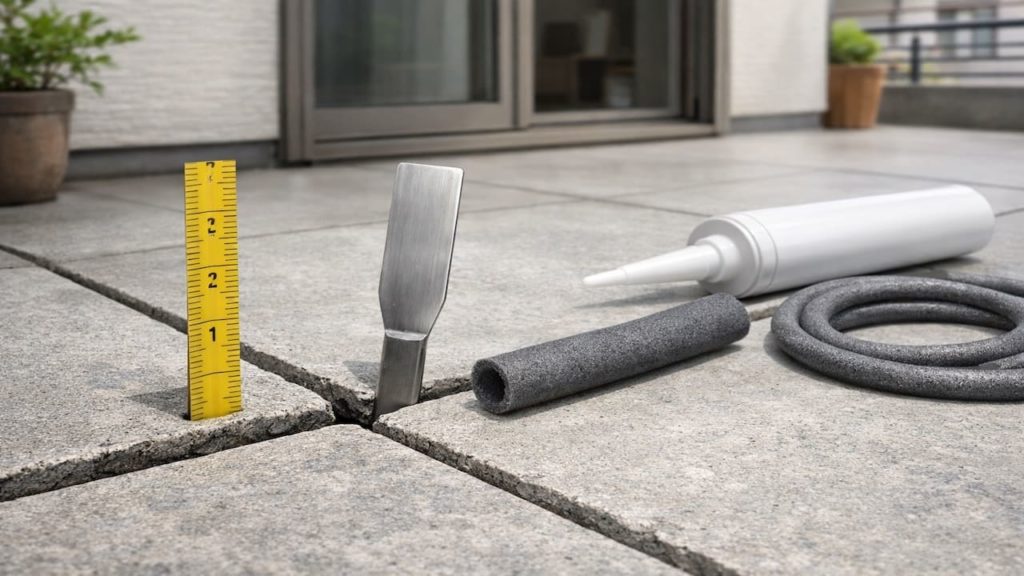
- Inspect joints for gaps wider than a coin
- Run water and watch if sand migrates
Some people think blasting is “just cleaning.” Nope, it is also excavation. If the joints already look low, blasting will make them lower. Clean the surface first, then decide if the joints can handle pressure at all.
2. Sand loss and damage
If sand blows out you can trigger rocking and edge drift—and you’ll chase it forever.
Loose joint sand can vanish in seconds with a tight nozzle and close distance. Polymeric sand can also get displaced, leaving weak spots that take on water and wash out again in the next storm. In Japan’s wet season, once joints open, rain keeps feeding the gap and you get repeat loss.
Some polymeric sand instructions warn not to use a pressure washer because it may displace hardened joint sand. According to can.sika.com.
- Look for sand piles forming at low spots
- Check joints near drains for early washout
- Watch for pavers that shift when stepped
- Inspect grout lines for fresh chipping edges
- Check for water jet pitting on softer stone
Some people plan to “just refill sand after.” That sounds easy until you realize the base got washed too, not only the joint. If you want joints to last, treat sand loss like damage, not cleanup. The moment you see sand flying, stop and switch to a safer method.
3. Why pressure washing joints causes bigger problems later
The jet can drive water under the surface and steal fine material—that’s the trap.
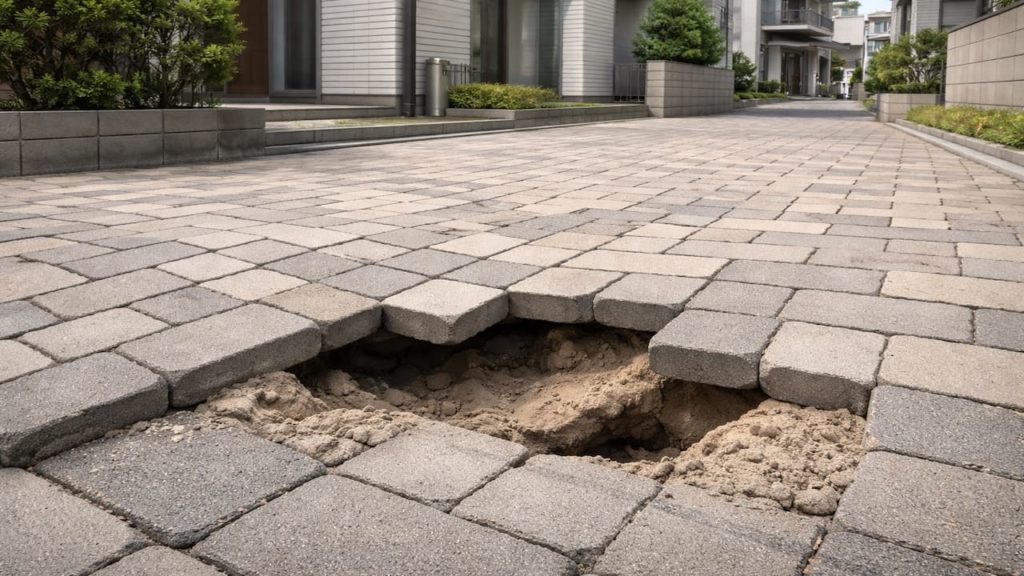
High pressure does two bad things at once: it removes joint material and it pushes water into places it normally would not go. That water can carry fines out through gaps, creating small voids that later become uneven spots. In Japan, frequent rain means those voids get fed again and again, so the patio starts feeling soft near edges and steps. What looks like a “clean line” today can become wobble next month.
- High pressure removes sand faster than brushing
- Jet forces water under edges and collars
- Fines wash out and create hidden void pockets
- Loose units start rocking as confinement weakens
- Wet seasons keep the base soft longer
Some people blame the base install right away. Sometimes it was fine until the jet did the digging. If your patio was stable before washing and got loose after, that is not mystery settling. That is joint erosion plus water intrusion, and it is fixable if you stop feeding it.
4. How to clean without blowing out joints
Use the lowest force that removes film and keeps joints intact—then rinse like you mean it.
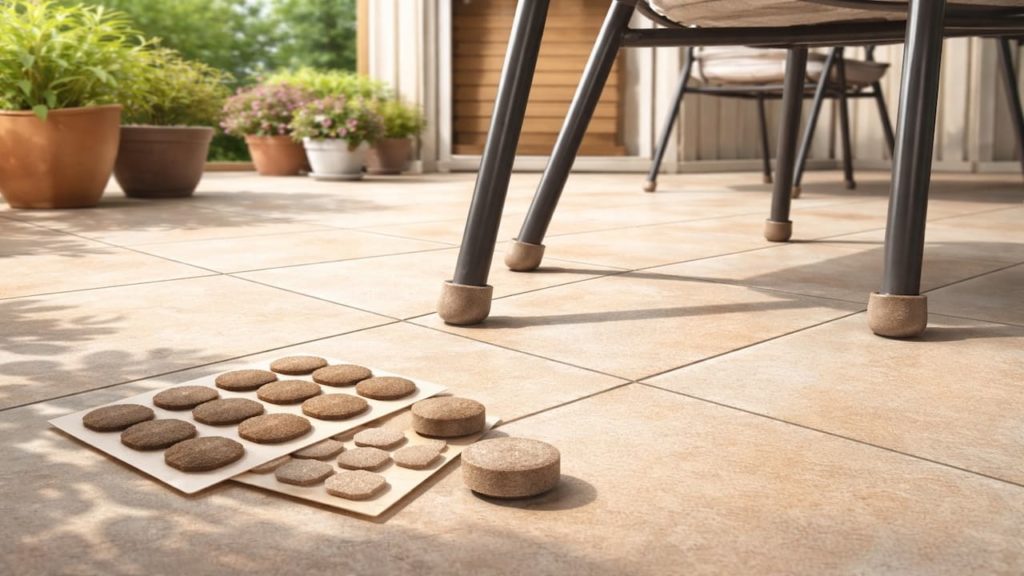
Start with dry removal: sweep, scrape weeds, and brush joints so you are not blasting loose grit into the seams. Then use a fan nozzle at an angle, keep moving, and avoid aiming directly into joints like you’re cutting a groove. If you need supplies like a stiff nylon brush, a fan tip, and replacement joint sand for touch-up, plan about ¥2000–12000 depending on what you already own.
Many pressure washer manuals tell you to keep a safe distance and test a small area first to check for surface damage. According to s1.kaercher-media.com.
- Sweep first so you do not grind grit
- Use a wide fan tip not a zero nozzle
- Hold the wand at a shallow angle
- Stay off joints and clean across them
- Refill joints after drying and compact lightly
Some people crank pressure because stains resist. That is when you start etching and stripping. If stains stay, switch chemistry and dwell time, not force. Clean the film, protect the seams, and your patio stays tight through Japan’s rainy stretches.
5. FAQs
Q1. Is it safe to pressure wash polymeric sand joints?
It can be risky because joints can get displaced. If you must wash, keep distance, use a wide fan spray, and avoid direct jetting into the seams.
Q2. What nozzle is the worst for joints?
The tightest jet is the most destructive, because it behaves like a cutter. Wide fan patterns spread force and reduce sand blowout.
Q3. Why do my pavers feel loose after washing?
You likely removed joint confinement and pushed water under the units. That can wash fines out and create tiny voids that turn into rocking.
Q4. Should I seal the patio after pressure washing?
Seal only after the joints are stable and dry, or you lock in problems. Also remember—sealer does not replace missing joint support.
Q5. What is a safer alternative in rainy weeks?
Brush and rinse with low pressure, then use a mild cleaner with dwell time. Let it dry fully before deciding if you need more force.
Pro's Tough Talk
I’ve spent 20+ years working around Japanese homes, so I’ve seen what tends to work—and what tends to go wrong—in everyday use. In humid rainy months, joints get soft, people get impatient, and the washer becomes a wrecking ball.
Three ugly truths: the jet excavates sand, drives water under the surface, and can scar the finish if you linger. Blasting joints is like using a chainsaw to trim your nails, it works until it doesn’t. You do it once, feel proud, then a week later the corner starts rocking when you carry trash out. You rinse after dinner, and the next morning the joints look low again like they got hungry overnight.
Right now, stop aiming into the seams. Today, sweep and brush so you are not pressure-sanding the surface. This weekend, clean with wide spray and refill joints after full dry.
Do that and the patio stays tight. If sand is flying you are damaging the structure so drop pressure and change your method. If stains won’t move with gentle washing, go chemical and dwell, not brute force.
Nope. Your patio is not a concrete battlefield, so stop using the washer like a power tool flex.
Summary
Pressure washing can remove joint sand, force water under the surface, and create voids that lead to rocking and uneven spots. Do quick checks for loose sand, hollow sounds, and movement before you wash.
Clean safely by sweeping first, using wide spray at an angle, and avoiding direct joint blasting. Refill joints only after drying, and switch to dwell-time cleaning when stains resist.
Do the brush test on one joint and pick a wide fan spray so you clean without wrecking support. Then keep going with the patio joint and drainage fixes that match what you find.