You sealed the pavement and now it feels slippery, especially when it’s wet. You searched because you want traction back without stripping everything blindly.
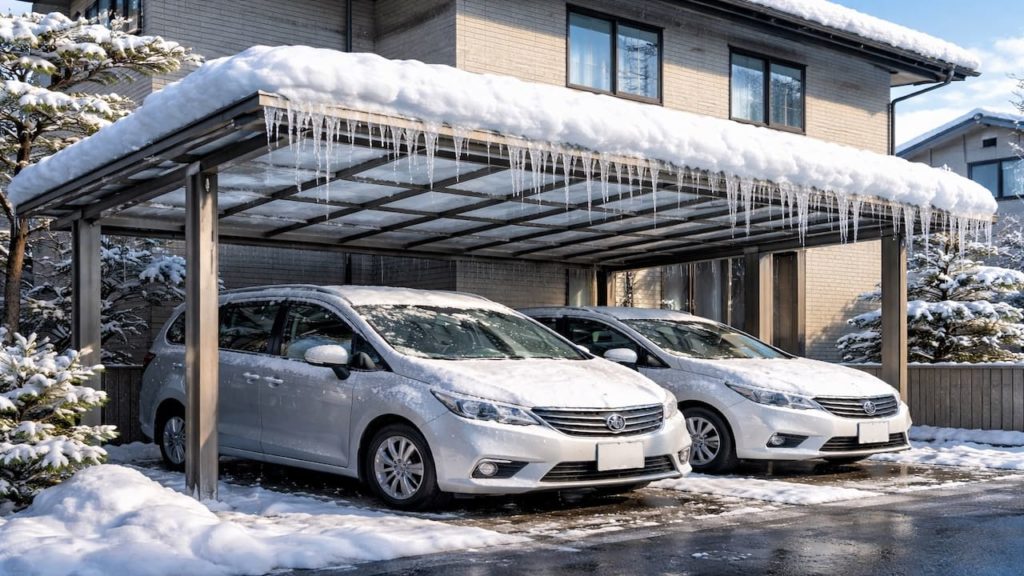
Slip can come from the wrong sealer finish, a leftover surface film, or moisture and grime sitting on top of the sealer. In Japan, humid rainy months keep surfaces damp longer, so “a little slick” turns into a real slip risk.
In this guide, you’ll learn why sealed pavement gets slippery and how to fix it by checking finish type and surface film first. You’ll also learn safer next steps if the sealer itself is the problem.
Hi, I’m Ken — I’m Japanese, and I live in Malaysia long-term, so I explain everyday life in Japan from a practical ‘from abroad’ perspective.
I hold a building design qualification and I’ve been on site for 20+ years across hundreds of jobs. I turn Japan’s unspoken rules into simple checks, so you can avoid costly mistakes and take the next step with clear actions that feel safe.
1. Pavement slippery on sealer 5 checks
Slippery sealer usually means the top surface is too smooth or coated in film.
A glossy finish reduces micro-texture, and any dirt film on top makes it worse when wet. In Japanese entry paths, fine dust and pollen build up fast and combine with humidity into a slick layer. Your goal is to figure out if the slipperiness is from the sealer choice or from contamination sitting on it.
- Check if slip is worst when fully wet
- Look for visible gloss and mirror reflections
- Rub a cloth and see if grime transfers
- Test a small area with mild soap rinse
- Compare shaded zone grip versus sunny zone grip
Some people assume the sealer “failed” and start scraping. Often the sealer is fine, but the surface film is the real slip layer. Diagnose first with small tests. Don’t nuke it yet.
2. Wrong finish and film
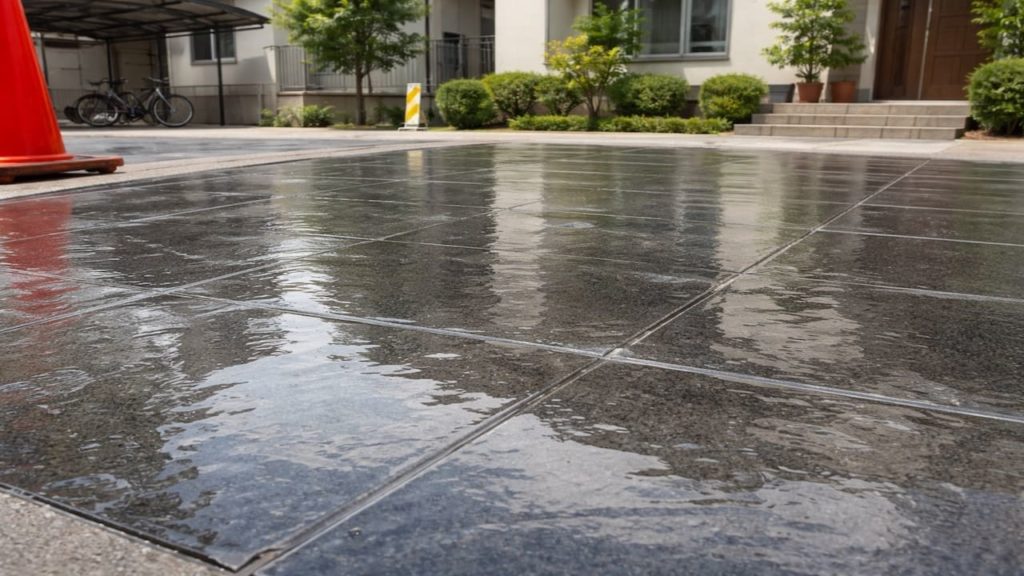
High-gloss finish plus surface film is the classic slip combo.
Glossy acrylic sealers can reduce traction, and waxy residue or cleaner buildup can add a second slippery layer. Japan’s humidity helps that film stay active, and rain turns it into a skating rink. Many sealer manufacturers recommend adding anti-slip additives or using textured finishes for wet-prone exterior areas.
- Identify whether sealer is glossy acrylic type
- Check if film forms from soap or degreaser
- Test traction after a full clean and dry
- Inspect if sealer pooled and dried thicker
- Confirm algae film on top of the sealer
You might think “more sealer will fix it.” It usually makes it worse by making the surface even smoother and thicker. If thickness is the issue, you need to clean or reduce the film, or recoat with traction additive. Increase grip, not shine.
3. Why sealed pavement becomes slippery over time
As the surface smooths and gets dirty grip drops fast.
Foot traffic can polish a sealer, especially where people turn or step repeatedly. Dirt, pollen, and soot stick to the sealer and form a slick layer when wet. In Japan’s rainy season, the surface stays wet longer, so slip risk stays high for more hours after each storm.
- Traffic polishes sealer and reduces microtexture
- Grime film builds and becomes slick when wet
- Algae can grow on top in shaded damp spots
- Thick pooled sealer creates extra smooth patches
- Cleaner residue can leave a slippery coating behind
People blame the stone or concrete underneath. The slip usually comes from what’s on top, not what’s below. Once you remove film and add texture, traction comes back. Fix the top layer behavior.
4. How to fix slippery sealer without damaging pavement
Clean off film first then add traction or switch finish.
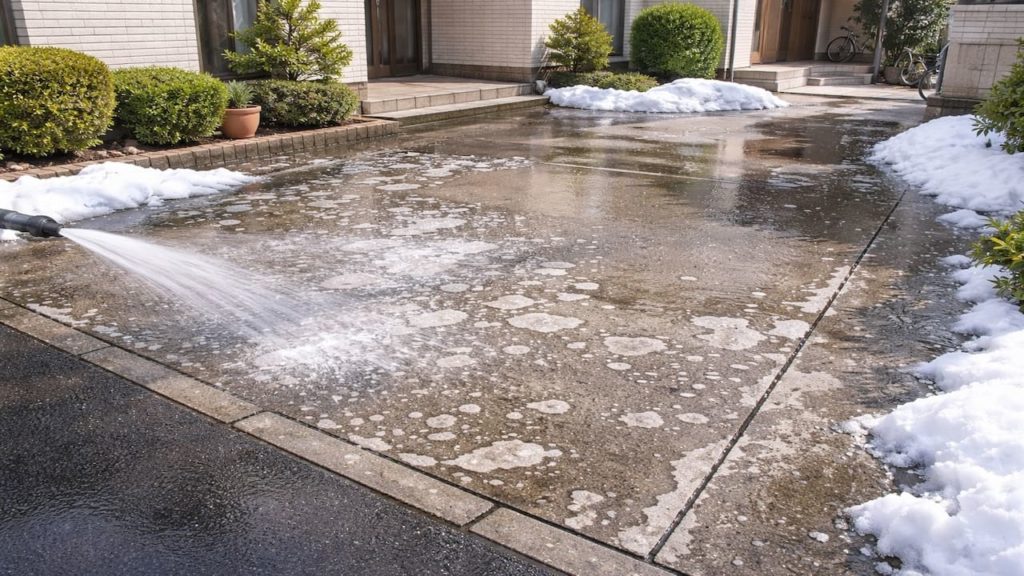
Start with a deep clean using a pH-neutral cleaner and a stiff nylon brush, then rinse thoroughly and let it dry to reassess traction. If it’s still slick, use an anti-slip additive in a compatible recoat or apply a traction coating designed for exterior sealed surfaces. For supplies like a brush, neutral cleaner, and a traction additive or traction recoat, expect around ¥1,000–6,000 depending on area size and product, and cost is mostly time/effort.
- Scrub with neutral cleaner and rinse completely
- Remove algae film in shaded damp corners
- Let dry then test grip with wet shoe
- Recoat with anti-slip additive if still slick
- Avoid thick coats and prevent pooling patches
You might want to use harsh stripper right away. That can damage the surface and create uneven blotchy zones. Clean and test first, then choose the smallest intervention that restores traction. If the finish is truly wrong, recoat with texture rather than stripping everything.
5. FAQs
Q1. Is slippery sealer dangerous in rainy weather?
Yes, especially on sloped entries and steps. If you feel any skid when wet, treat it as a safety issue, not a cosmetic one.
Q2. Can I just sprinkle sand on top?
It can help short term, but it gets messy and can clog drains. A proper traction additive or textured recoat is cleaner and lasts longer.
Q3. What is the first thing I should try?
Deep clean and rinse off surface film. Many “slippery sealer” cases are actually soap residue, grime, or algae on top.
Q4. Why is it worse in shaded areas?
Shade stays damp longer and grows algae film more easily. Damp film reduces grip even if the sealer itself is the same.
Q5. When do I need to strip and redo?
If the sealer is peeling, pooling thick, or the wrong product for exterior traction and cleaning doesn’t help, then redo makes sense. Otherwise, traction recoat is usually enough.
Pro's Tough Talk
I’ve spent 20+ years working around Japanese homes, so I’ve seen what tends to work—and what tends to go wrong—in everyday use. A slippery sealed path is not “normal,” it’s a faceplant waiting to happen.
Cold breakdown: you either picked a finish that’s too smooth, or you’ve got a film sitting on top like grease on a frying pan. Rain turns that film into a slip layer, and Japan humidity keeps it alive longer. Think of it like a phone screen with oily fingerprints, except you’re walking on it.
Scrub the surface now and rinse until water runs clean. Dry it today and do a wet-shoe grip test. Recoat this weekend with a traction additive if it still skids.
If it stays slippery even after a full clean and dry, the sealer finish is wrong for that location and needs a textured recoat or a product change. If only certain spots are slick, you likely have pooled thick sealer and need to address those patches specifically.
Keep it glossy and slick, and your pavement will start collecting “reviews” from your knees.
Summary
Sealed pavement gets slippery when the finish is too smooth or when film and algae build up on top. Check gloss, pooling patches, and whether deep cleaning changes traction.
Fix it by removing surface film first, then adding traction with an anti-slip additive or textured recoat if needed. If the product choice is wrong, switching finish matters more than adding more sealer.
Deep clean and test grip today so you know whether it’s film or finish. Then add traction so rainy days stop being a slip hazard.