You want a Washlet in a rental, but you do not want trouble at move-out. That tension is real.
Most problems come from tiny “non-reversible” marks, not the seat itself. In Japan, humid seasons and compact toilet rooms make leaks and odor feel bigger.
In this guide, you’ll learn install a Washlet without damaging rental fixtures using reversible fixes and simple habits. You will also learn how to keep original parts safe for a clean exit.
Hi, I’m Ken — I’m Japanese, and I live in Malaysia long-term, so I explain everyday life in Japan from a practical ‘from abroad’ perspective.
I hold a building design qualification and I’ve been on site for 20+ years across hundreds of jobs. I turn Japan’s unspoken rules into simple checks, so you can avoid costly mistakes and take the next step with clear actions that feel safe.
1. Washlet renter setup: 5 tips
Renters win by changing as little as possible.
Your goal is a comfortable Washlet without permanent traces — treat it like borrowing a bike and returning it spotless. In Japan rentals, the toilet area is tight, so small drips can reach flooring fast. Start by documenting what you touch, then keep every removed part together. Clean swaps.
TOTO warns not to fold or crush the water supply hose and to avoid actions that can cause leaks. According to totousa.com.
- Photograph shutoff valve and hose routing before changes
- Store original seat bolts and caps in bag
- Label removed parts with tape and date
- Use hand snug tightening and avoid overforce
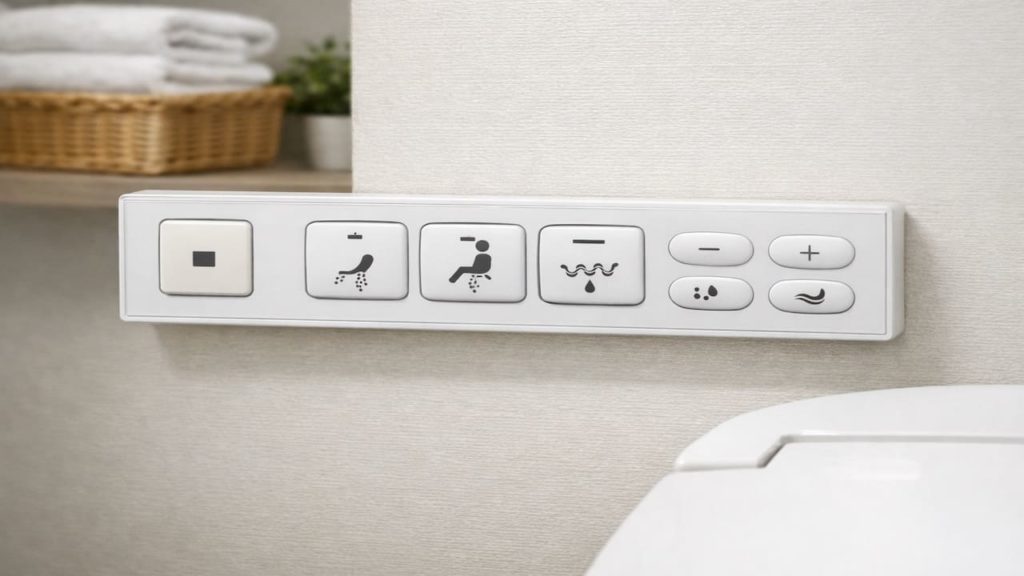
- Test spray and Stop button before daily use
You might think “it is just a seat, nothing risky.” In Japan housing, one hidden drip can stain flooring and become a deposit fight. Do small reversible steps and document them, and you stay calm later. Quiet control.
2. Use reversible fixes and keep original parts
Reversible means no new holes no glue no cuts.
Anything you cannot undo will haunt you at move-out — especially in Japan rentals with strict inspections. Avoid adhesive hooks on textured walls, because humidity can make glue creep and tear paint. Keep every original part in one labeled bag, then store it in one place. One stash.
Japan’s guidance explains “restoration to original condition” focuses on damage beyond normal wear, not simple aging. According to mlit.go.jp.
- Mount remote with stand not wall tape
- Keep original toilet seat in labeled box
- Wrap small screws in tissue then seal bag
- Save rubber washers and caps with the bolts
- Record model name and settings on note
You might feel tempted to “improve” the stall with extra brackets. That is how paint chips and mystery holes appear, and those are hard to explain. Keep everything reversible, and your move-out becomes a simple swap-back. Easy finish.
3. Why renters get in trouble with Washlet installs
Trouble comes from leaks marks and missing parts.
The seat rarely causes disputes, but water and marks do — and Japan bathroom layouts make them show up fast. Leaks happen when hoses twist or fittings are overtightened, then micro-drips soak dust into grime. Marks happen when you stick things on walls, then peel them later. Missing parts happen when you “temporarily” put screws somewhere and forget. Classic loop.
- Check hose bend radius behind the seat
- Look for damp dust under shutoff valve
- Inspect floor edges for tiny water trails
- Notice wall tape marks near remote location
- Confirm you still have every original fastener
You might assume the landlord cares about the brand or model. Usually they care about damage, mess, and lost components, because that costs time. If you prevent drips and keep parts, you remove the real risk. Practical peace.
4. How to install and remove a Washlet without damage
Do a slow install then a strict leak check.
Turn water off, connect carefully, then retest after the first few uses — Japan winter cold can make fittings shrink slightly after cooling. Budget ¥5000–15000 once for basic fittings and a small drip tray if you need them. The key is a repeatable leak check routine, not speed. Slow is safe.
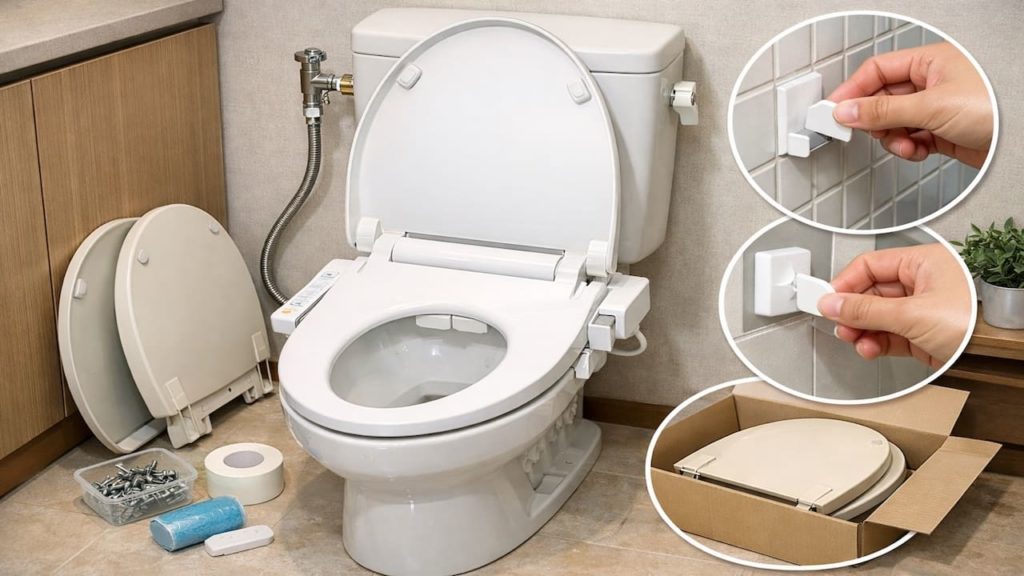
- Close shutoff valve and flush to release pressure
- Connect tee and hose without twisting threads
- Open shutoff slowly and watch for seepage
- Wipe joints dry then recheck after ten minutes
- Save removal steps as photos for move out
You might want to “set and forget” once it works. In Japan humid months, tiny drips can hide until smell appears, so you want quick rechecks. If you can remove it cleanly in your head, you can remove it cleanly in real life. Reversible thinking.
5. FAQs
Q1. Do I need landlord permission to install a Washlet?
It depends on your contract and building rules, so check first if it mentions plumbing changes. If you keep it reversible and avoid damage, many renters stay fine.
Q2. What is the most important renter habit?
Keep every original part and store it together. Missing bolts and caps cause more trouble than the Washlet itself.
Q3. What should I avoid in a rental bathroom?
Avoid drilling, strong adhesives, and cutting hoses. Also avoid “tighten harder” thinking, because overtightening can create leaks.
Q4. How do I prevent surprise leaks after install?
Do a wipe-dry check, then recheck after ten minutes and again after a few uses — Japan’s temperature shifts can reveal slow seepage.
Q5. What is the cleanest move-out plan?
Swap the original seat back using your photos, then wipe the area and confirm no marks remain. Keep the Washlet parts bagged for your next place.
Pro's Tough Talk
I’ve spent 20+ years working around Japanese homes, so I’ve seen what tends to work—and what tends to go wrong—in everyday use. In Japan’s humid summer, a “tiny drip” becomes a smell and a stain faster than you think. So yeah, do it like a grown-up.
Three causes. First, you rush fittings and twist hoses, then the joint leaks like a slow-tearing bandage. Second, you stick things to walls, then peel them and act surprised the paint comes with it, like ripping tape off paper. Third, you lose original parts, and move-out turns into a scavenger hunt. You know the scene where you toss screws into a random drawer “for now.” You know the scene where you remove tape and it leaves a ghost outline.
Take photos of everything right now.
Bag and label every original part today.
Recheck every joint after a few uses this weekend.
Reversible work is the only renter safe work. If you did this and it still fails, next is calling building maintenance or a licensed plumber to avoid accidental damage.
Nice try.
Keep “saving time” with shortcuts, and you’ll pay for it later like a subscription you forgot to cancel.
Summary
Renter Washlet setup is about reversible changes, leak prevention, and clean documentation. Keep photos and keep every original part together.
Most disputes come from drips, marks, or missing fasteners, not the Washlet itself. If leaks persist after rechecks, escalate to maintenance instead of forcing it.
Do reversible steps and store original parts today. You get comfort now and a stress-free move-out later, without leaving a trace.